Appliance Noise Troubleshooting: Abbotsford’s Quick Fix Guide
Is your kitchen suddenly sounding like a construction zone at 6 AM? Let’s decode those mysterious appliance symphonies and figure out if your fridge is just chatty or actually crying for help!
Picture this: you’re making your morning coffee in your beautiful Clearbrook home, and suddenly your dishwasher starts making sounds like it’s auditioning for a death metal band. We’ve all been there! Your home’s appliances are basically the unsung heroes of daily life, working tirelessly to keep things running smoothly. But when these trusty companions start making weird noises, it can send even the most zen homeowner into panic mode.
Here’s the thing though – not every strange sound means you need to start shopping for a replacement. Some noises are totally normal (like your fridge’s gentle hum), while others are basically your appliance’s way of waving a red flag. Understanding the difference can save you from unnecessary stress, emergency repair calls, and potentially hundreds of dollars in premature replacements.
Key Outtakes:
- Normal appliance sounds include gentle humming, occasional clicks, and soft whirring – these are just signs your appliances are doing their job
- Warning sounds like grinding, squealing, loud banging, or persistent buzzing often indicate mechanical problems that need attention
- Many appliance noise issues can be fixed with simple troubleshooting like leveling, cleaning, or removing obstructions
- Knowing when to DIY versus when to call professionals can prevent further damage and costly repairs
- Regular maintenance and listening to your appliances can help catch problems early before they become major headaches
Understanding Your Home’s Appliance Orchestra
Every home has its own unique soundtrack, and your appliances are the main performers in this daily symphony. From the refrigerator’s steady hum to the washing machine’s rhythmic swishing, these sounds become part of your household’s background music. The key is learning to distinguish between the normal “working hard” noises and the “something’s definitely wrong” alarms.
Think of your appliances like cars – you know your engine’s normal purr, so when it starts making unfamiliar knocking or grinding sounds, you immediately know something’s up. Appliances work the same way, and once you understand their normal operating sounds, identifying problems becomes much easier. Most appliances have motors, fans, pumps, and moving parts that naturally create some level of noise during operation.
The volume, frequency, and timing of these sounds can tell you a lot about what’s happening inside your appliances. A sudden increase in volume, a change in pitch, or completely new sounds appearing out of nowhere are usually the first signs that something needs attention. Learning this appliance language can help you catch issues early, often when they’re still simple and inexpensive to fix.
Refrigerator Sounds: Normal Hums vs. Help Me Signals
Let’s start with the hardest working appliance in your home – your refrigerator. Since it runs 24/7 to keep your groceries fresh, it’s bound to make some noise, and that’s completely normal. Understanding what sounds are typical versus concerning can save you from unnecessary worry and help you catch real problems early.
Before we dive into troubleshooting specific refrigerator noises, it’s important to understand that a completely silent fridge would actually be more concerning than one making gentle operational sounds. Your refrigerator has several components working together – the compressor, evaporator fan, condenser fan, and various pumps – each contributing to the overall soundscape of normal operation.
The Happy Refrigerator Soundtrack
A low, steady hum is the most common refrigerator sound, and it’s perfectly normal – this is your compressor working to circulate refrigerant and maintain proper temperatures. You might notice this hum gets slightly louder when the compressor kicks on after the door has been opened or when it’s working harder during hot weather. This gentle humming is basically your fridge saying “I’m working!”
Occasional clicking sounds are also totally normal and usually relate to the defrost cycle. You might hear these clicks as the defrost timer turns on and off, or as components expand and contract with temperature changes. Brief buzzing sounds often occur when the ice maker fills with water or when the evaporator fan motor cycles on. These sounds should be infrequent and relatively quiet.
Light gurgling or hissing sounds occasionally occur as refrigerant flows through the system. Think of it like the gentle sound of water moving through pipes – it’s just the refrigeration system doing its thing. These sounds are usually most noticeable right after the compressor has been running.
Red Flag Refrigerator Noises
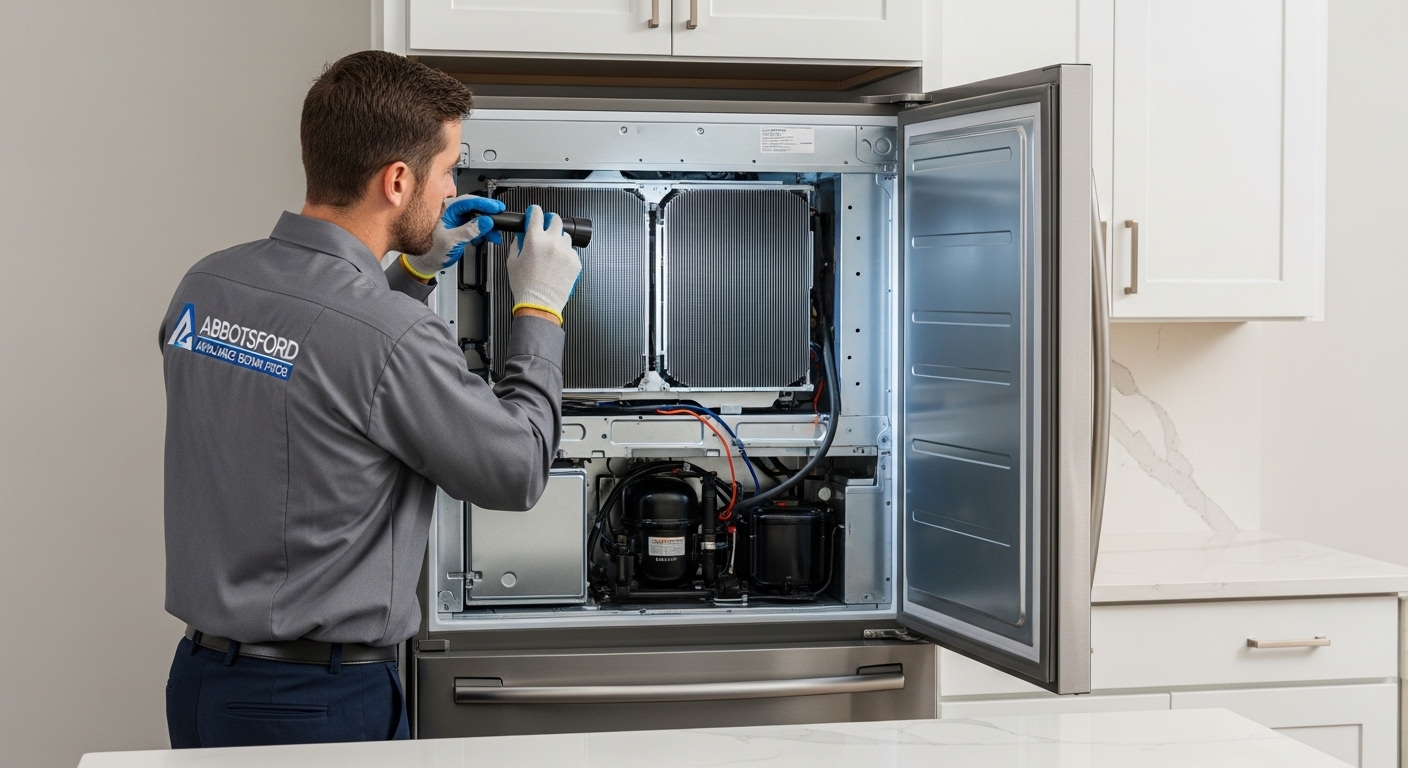
A refrigerator making noise that’s significantly louder than usual is often the first sign of trouble. If your normally quiet fridge suddenly sounds like it’s working overtime with loud, persistent humming or buzzing, this could indicate compressor problems or issues with the condenser fan motor. These components are crucial for proper cooling, so loud operation often means they’re struggling.
Grinding or scraping sounds are particularly concerning and usually point to problems with the evaporator fan, often caused by ice buildup around the fan blades or a failing fan motor. A noisy refrigerator making grinding sounds should be addressed quickly to prevent damage to the fan system. Rattling sounds can indicate loose components, an unlevel refrigerator, or problems with the condenser fan.
High-pitched squealing typically means a fan motor is failing, while persistent loud hissing could signal a refrigerant leak. If you’re experiencing a fridge making noise that includes squealing or continuous hissing, it’s time to call in professionals, especially for potential refrigerant issues which require specialized handling.
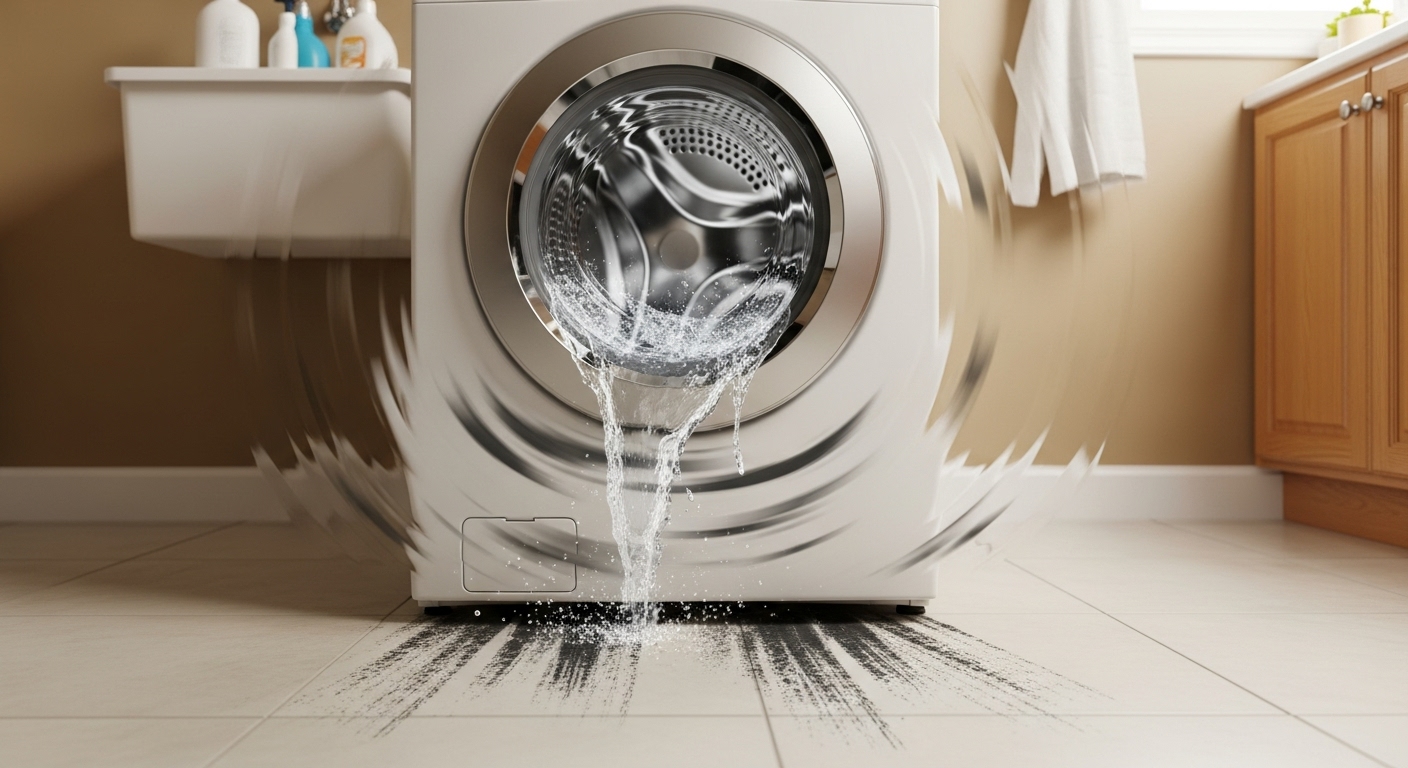
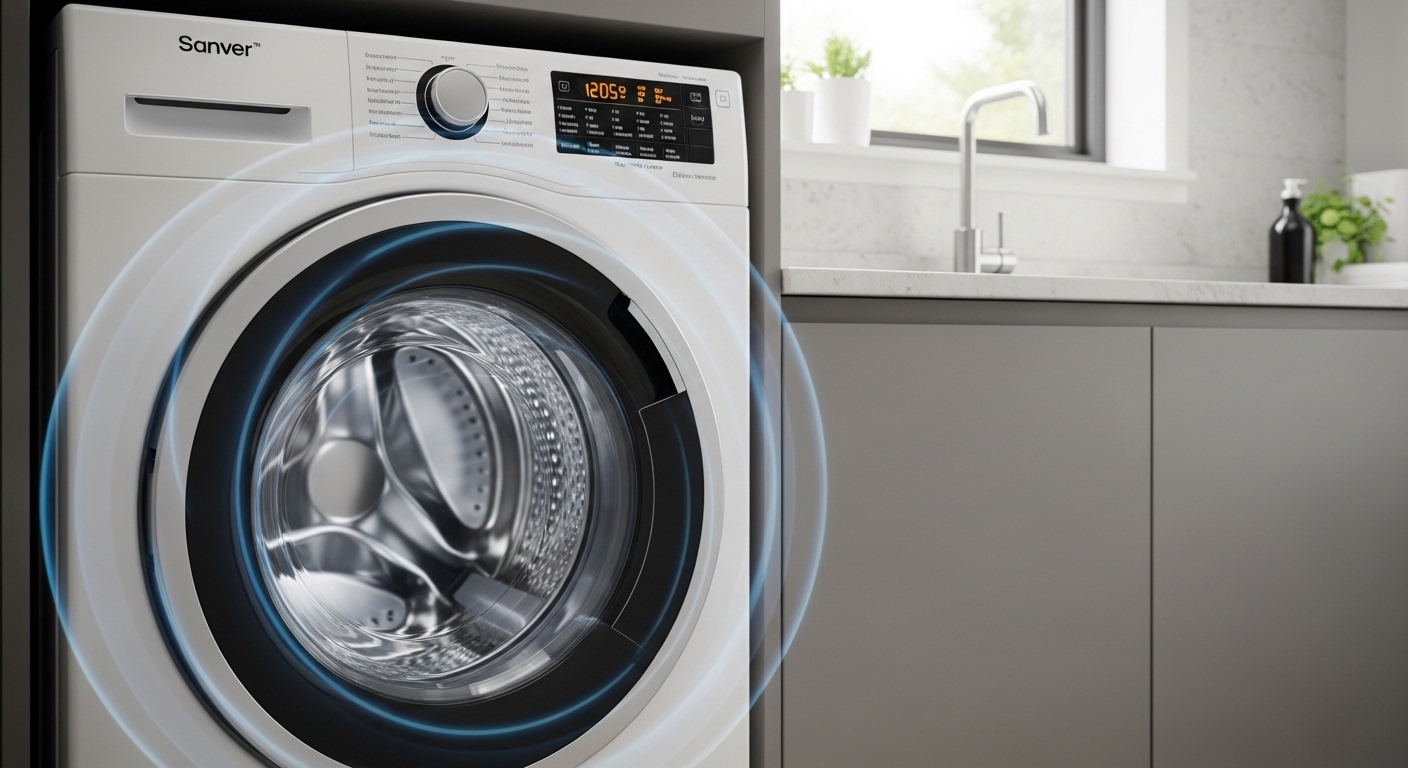
Washing Machine Sounds: From Gentle Swishing to Concerning Crashes
Moving on from refrigerator rhythms, let’s talk about your washing machine – another appliance that’s naturally quite vocal during operation. Understanding normal washing machine sounds versus problematic ones is crucial, especially since this appliance handles such dynamic processes from gentle agitation to high-speed spinning.
Washing machines go through several distinct cycles, each with its own characteristic sounds. The filling phase creates rushing water sounds, the wash cycle produces swishing and sloshing, and the spin cycle generates increasing whirring sounds. Familiarizing yourself with these normal operational phases helps you quickly identify when something sounds off.
Normal Washing Machine Operations
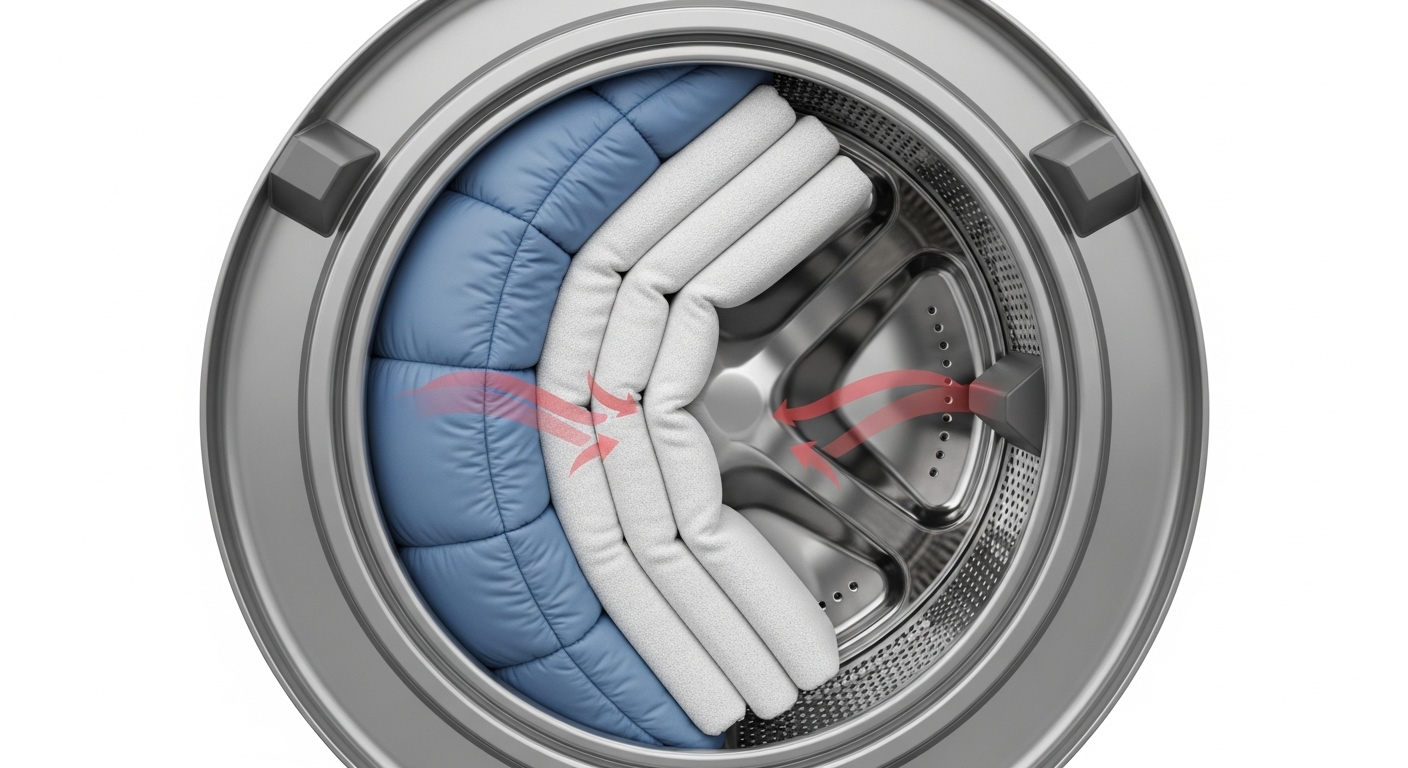
During the wash cycle, you should hear gentle swishing and sloshing sounds as water and clothes move around the tub. This rhythmic movement is exactly what you want – it means your clothes are getting properly agitated and cleaned. The intensity of these sounds can vary based on load size and fabric types, but they should never be jarring or violent.
The spin cycle naturally creates whirring sounds that increase in intensity as the drum speeds up to extract water from your clothes. You might also hear brief clicking sounds as the machine transitions between cycles or as safety locks engage and disengage. These mechanical sounds are part of normal operation.
Draining produces gurgling sounds as water is pumped out, similar to what you might hear when a bathtub drains. Brief humming from the motor during various cycles is also completely normal and indicates the motor is working to power the different functions.
Washing Machine Warning Sounds
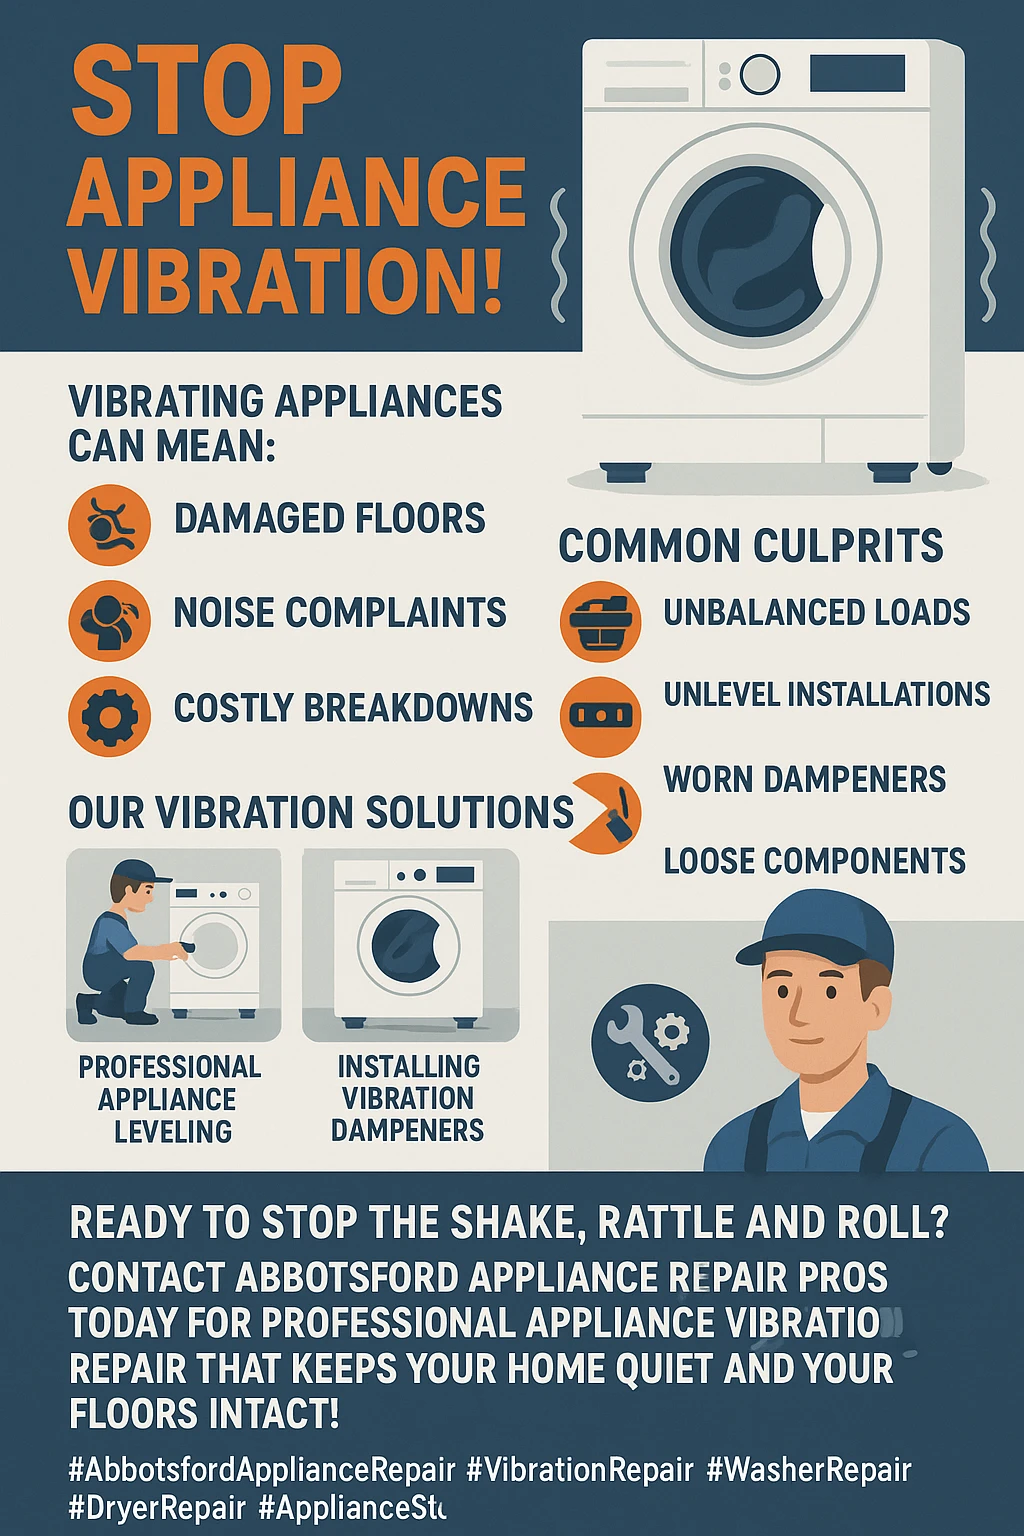
A washing machine noise diagnosis often starts with identifying banging or thumping sounds during the spin cycle. While slight thumping can occur with unbalanced loads, loud, violent banging usually indicates either a severely unbalanced load or problems with the machine’s suspension system. This is one of those sounds you definitely shouldn’t ignore.
Grinding noises during operation often mean foreign objects like coins, buttons, or small items have gotten caught between the inner and outer tubs. Sometimes you can hear metallic clicking or scraping as these objects move around. Stop the machine immediately if you hear grinding – continuing to run it could cause serious damage.
High-pitched squealing or screeching typically points to belt problems or bearing issues. These components wear out over time and may need replacement. A washer banging excessively or making loud squealing sounds should be inspected promptly to prevent further mechanical damage.
Dishwasher Dialogue: Decoding Water Sounds and Mechanical Messages
Your dishwasher is like a mini water park in your kitchen, and with all that water spraying, draining, and circulating, it’s naturally going to make various sounds. The key is distinguishing between the normal sounds of cleaning in action and the warning signs that something needs attention.
Understanding your dishwasher’s cycle progression helps you know what to expect. Each stage – filling, washing, rinsing, and draining – has its own characteristic sounds. When you’re familiar with these normal progression sounds, unusual noises become much more obvious.
Healthy Dishwasher Sounds
The initial water filling creates a distinct rushing sound that should be steady and relatively brief. This is followed by the rhythmic swishing and spraying sounds of the wash arms distributing water and detergent throughout the dishwasher. You might hear slight variations in water pressure and spray patterns, which is normal as the arms rotate and clean different areas.
A gentle humming from the motor and pump during wash cycles indicates these components are working properly to circulate water. The draining phase produces gurgling sounds similar to a sink draining, and you might hear brief clicking as the control system switches between different cycle phases.
Occasional light rattling from dishes moving slightly during the wash cycle is normal, especially if you haven’t loaded everything perfectly secure. The key word here is “occasional” – constant loud rattling suggests a loading problem or mechanical issue.
Dishwasher Distress Signals
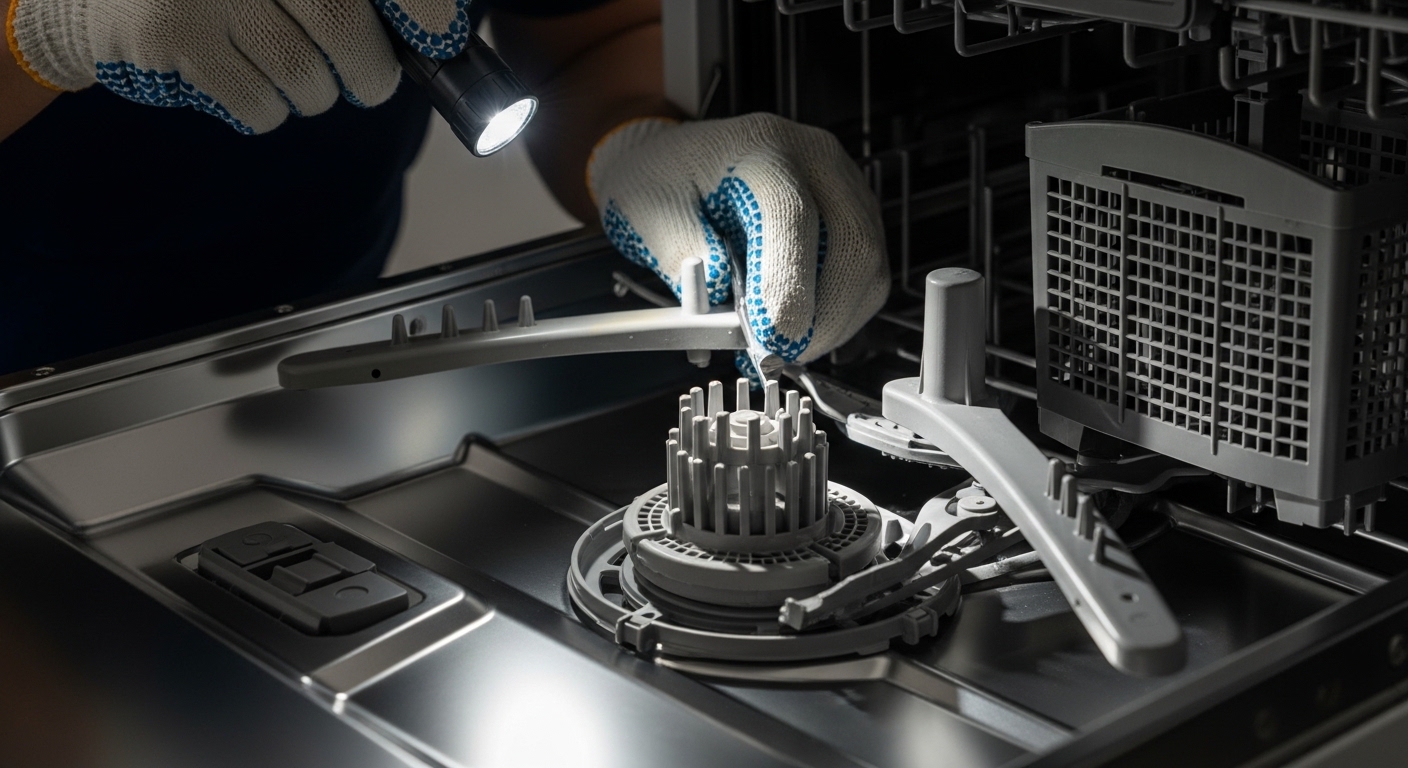
A humming dishwasher that seems stuck in one phase without progressing often indicates a blocked pump or motor issue. This typically happens when food debris, broken dish fragments, or foreign objects interfere with the pump’s operation. The motor tries to work but can’t complete its cycle properly.
Loud grinding sounds during the wash cycle usually mean something is interfering with the spray arms – perhaps a utensil that’s fallen through the rack or debris caught in the arm mechanism. Professional diagnosis may be needed if the grinding persists after checking for obvious obstructions.
Continuous high-pitched whining often signals problems with the water inlet valve, which controls water flow into the dishwasher. This component can malfunction and restrict water supply while creating that annoying whining sound. Residents in areas like Matsqui might notice this issue more frequently due to mineral deposits in local water supplies.
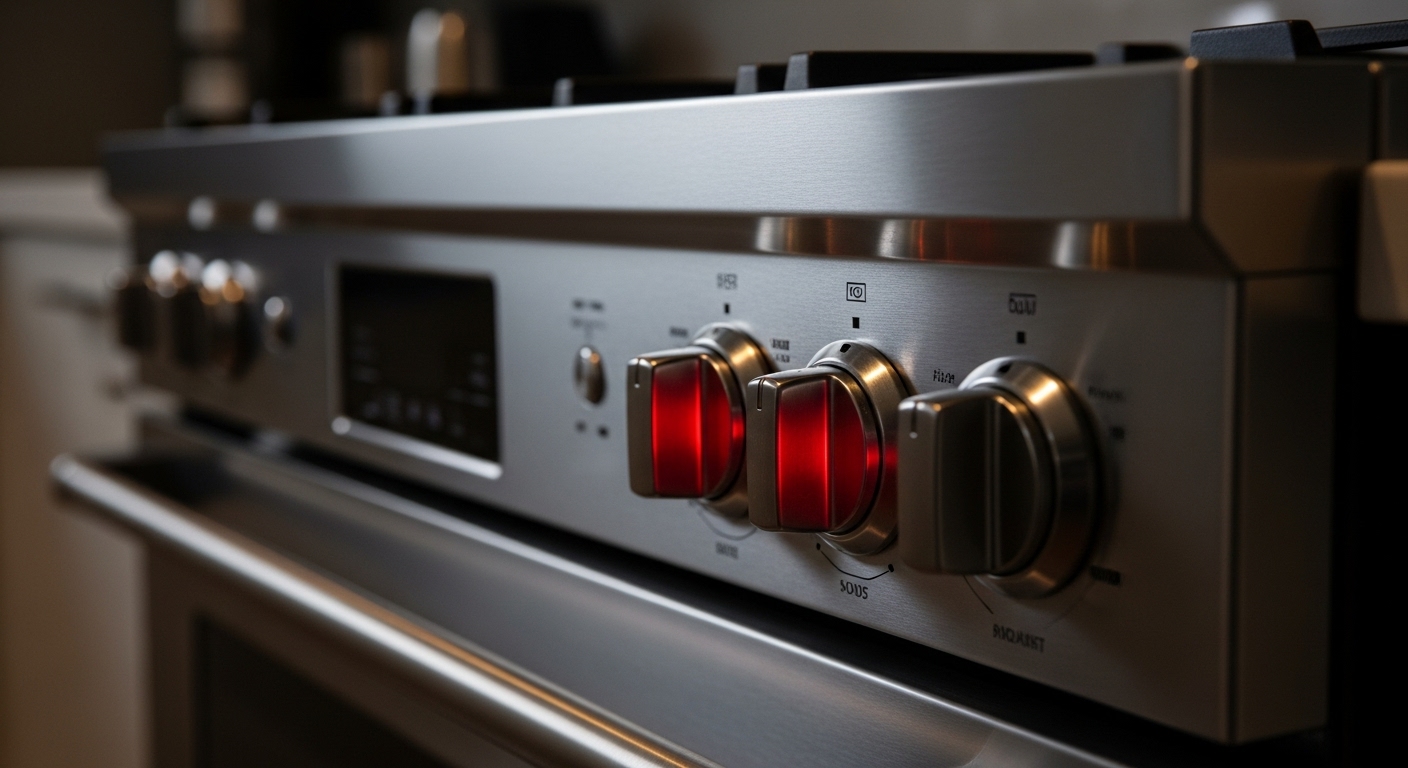
Oven and Stove Sounds: Heat-Related Audio Cues
While ovens and stoves are generally quieter than your other major appliances, they still communicate through various sounds related to heating, cooling, and gas flow. Learning these thermal appliance languages can help you catch problems before they affect your cooking or become safety concerns.
Gas and electric models have different sound profiles, but both types use clicking, humming, and whooshing sounds to indicate normal operation. The key is recognizing when these sounds become excessive, change pitch dramatically, or occur at unexpected times during the cooking process.
Normal Oven Operation Sounds
Electric ovens typically produce a soft humming when heating elements are active. This electrical hum is usually barely noticeable and indicates current flowing through the heating coils. You might also hear occasional clicking as the thermostat cycles the heating elements on and off to maintain temperature.
Gas ovens have their own characteristic sounds, starting with the distinctive whooshing of gas igniting when you first turn on the oven or burners. This should be followed by a steady, low hum as the burners continue heating. Brief clicking from the igniter system is normal as it cycles to maintain the flame.
Both types may produce slight expansion and contraction sounds as metal components heat up and cool down. These thermal sounds are usually subtle pops or creaks and are completely normal parts of the heating and cooling process.
Concerning Oven Noises
A buzzing oven during operation, especially if the buzzing is loud or persistent, can indicate problems with heating elements or electrical connections. This is particularly important to address quickly since electrical issues in cooking appliances can pose safety risks.
Excessive stove clicking, particularly when the burner fails to ignite, usually means the igniter system needs attention. If you hear continuous clicking without ignition, turn off the burner and check for debris around the igniter or burner ports. Persistent clicking without lighting can waste gas and should be addressed promptly.
Loud popping or banging sounds during operation might indicate warped heating elements or problems with gas burner components. These sounds can signal potentially dangerous conditions that homeowners in Mill Lake or other Abbotsford neighborhoods should have professionally inspected.
Dryer Dynamics: Tumbling Sounds and Motor Messages
Your dryer might seem like a simple appliance, but it actually has quite a few moving parts that can create various sounds during operation. From the drum rotation to the blower motor, understanding normal dryer sounds versus warning signs can prevent breakdowns and extend your appliance’s life.
The combination of tumbling clothes, rotating drums, motor operation, and airflow creates a complex soundscape. Most of these sounds indicate healthy operation, but certain changes in volume, pitch, or rhythm can signal developing problems that are easier to fix when caught early.
Happy Dryer Sounds
The most obvious normal sound is the gentle thumping of clothes tumbling as the drum rotates. This rhythmic sound varies with load size and fabric types but should never be violently loud or erratic. You’ll also hear the steady whir of the blower motor and fan, which circulates hot air through the drum and vents it outside.
Belt-driven dryers may produce a very slight squeaking when first started or if they haven’t been used recently. This usually disappears as the belt warms up and should never be loud or persistent. Some clicking or snapping sounds from clothes with buttons, zippers, or snaps is normal as they tumble.
The heating system, whether gas or electric, creates its own subtle sounds – gas models have the gentle whoosh of the burner, while electric models may have a barely audible hum from the heating elements.
Dryer Warning Sounds
A loud dryer making excessive rumbling or vibrating noises often indicates the appliance isn’t level or the load is severely unbalanced. However, if leveling and load redistribution don’t solve the problem, it might signal issues with the drum support system or motor mounts.
Dryer squealing that’s loud and persistent typically points to problems with drum rollers, idler pulleys, or drive belts. These components support and rotate the drum, and when they wear out, they can create very unpleasant screeching sounds. This is definitely a sign that professional repair is needed.
Clicking or rattling that occurs consistently during operation might be caused by foreign objects like coins or buttons caught in the drum or lint filter area. However, if no objects are found, the clicking could indicate worn drum bearings or loose internal components.
Garbage Disposal Communication: Grinding Sounds and Flow Issues
Finally, let’s talk about your garbage disposal – an appliance that’s supposed to make grinding sounds, but even here there are good grinds and bad grinds. Understanding what your disposal is telling you can prevent jams, clogs, and motor damage while keeping your kitchen running smoothly.
Since grinding is the disposal’s primary function, distinguishing between normal operation sounds and problem indicators requires paying attention to the quality, consistency, and context of the sounds it makes.
Normal Disposal Operation
A healthy garbage disposal produces a steady grinding hum when running, with occasional changes in tone as different food particles are processed. The motor sound should be consistent and not overly strained. You might hear water swirling and draining sounds, which indicate proper flow through the system.
Brief changes in grinding tone as different textures of food waste are processed is completely normal. Harder items might create slightly louder grinding sounds, while softer materials process more quietly. The key is that these variations should be temporary and the motor should return to its normal steady hum.
Disposal Distress Calls
A garbage disposal humming without any grinding action usually indicates a jam. The motor is trying to work, but something is preventing the grinding mechanism from rotating. This is often caused by hard objects, fibrous materials, or accumulation of debris that needs to be cleared.
Excessively loud grinding that sounds harsh or strained might mean inappropriate items are in the disposal, or that the grinding components are worn and need replacement. Metal objects, bones, or fibrous materials can create these harsh grinding sounds and potentially damage the disposal.
Gurgling sounds when the disposal isn’t running often indicate drainage problems or partial clogs in the connecting pipes. This can cause water to back up and create those unpleasant gurgling noises even when the disposal itself isn’t operating.
Frequently Asked Questions
What does a broken appliance sound like?
Broken appliances typically make sounds that are dramatically different from their normal operation. You might hear loud grinding, persistent squealing, violent banging, or continuous buzzing that doesn’t match the appliance’s usual soundscape. Any sudden change in noise level, pitch, or the appearance of completely new sounds often indicates a problem.
The key is knowing your appliances’ normal sounds so you can immediately recognize when something changes. A broken appliance might also make no sound at all when it should be operating, which can be just as concerning as excessive noise.
When should I call for appliance repair?
You should call for professional appliance repair when you’ve tried basic troubleshooting without success, when you hear concerning sounds like grinding or squealing, or when you’re dealing with gas appliances and suspect leaks. If an appliance is making alarming noises but you can’t identify the source, it’s better to have it inspected than risk further damage.
For residents throughout Abbotsford, from downtown to areas like Sumas Mountain, calling professionals early can prevent minor issues from becoming major expenses. Don’t continue operating appliances that are making concerning sounds, as this can lead to more extensive damage.
Can I fix appliance noises myself?
Many appliance noise issues can be resolved with simple DIY solutions like leveling the appliance, cleaning filters, removing obstructions, or securing loose components. Start with basic maintenance tasks like checking for proper installation, cleaning accessible parts, and ensuring nothing is interfering with moving components.
However, if the noise persists after basic troubleshooting, or if you’re dealing with electrical or gas components, it’s time to call professionals. Some repairs require specialized tools and expertise that aren’t worth the risk of DIY attempts, especially when safety is involved.
Wrapping Up
Understanding your appliances’ language of sounds is one of the best ways to maintain your home and catch problems early. By learning to distinguish between normal operational sounds and warning signs, you can prevent minor issues from becoming major headaches and expensive repairs. Remember that regular maintenance, like cleaning filters and keeping appliances level, goes a long way toward preventing noise problems in the first place.
When your appliances start speaking up with concerning sounds, don’t ignore them – whether you’re in Fraser Valley communities or anywhere else in Abbotsford, Abbotsford Appliance Repair Pros is here to help decode those mysterious noises and get your home running smoothly again. Our experienced technicians understand the unique challenges Abbotsford homeowners face and provide reliable, professional service to keep your appliances working quietly and efficiently.


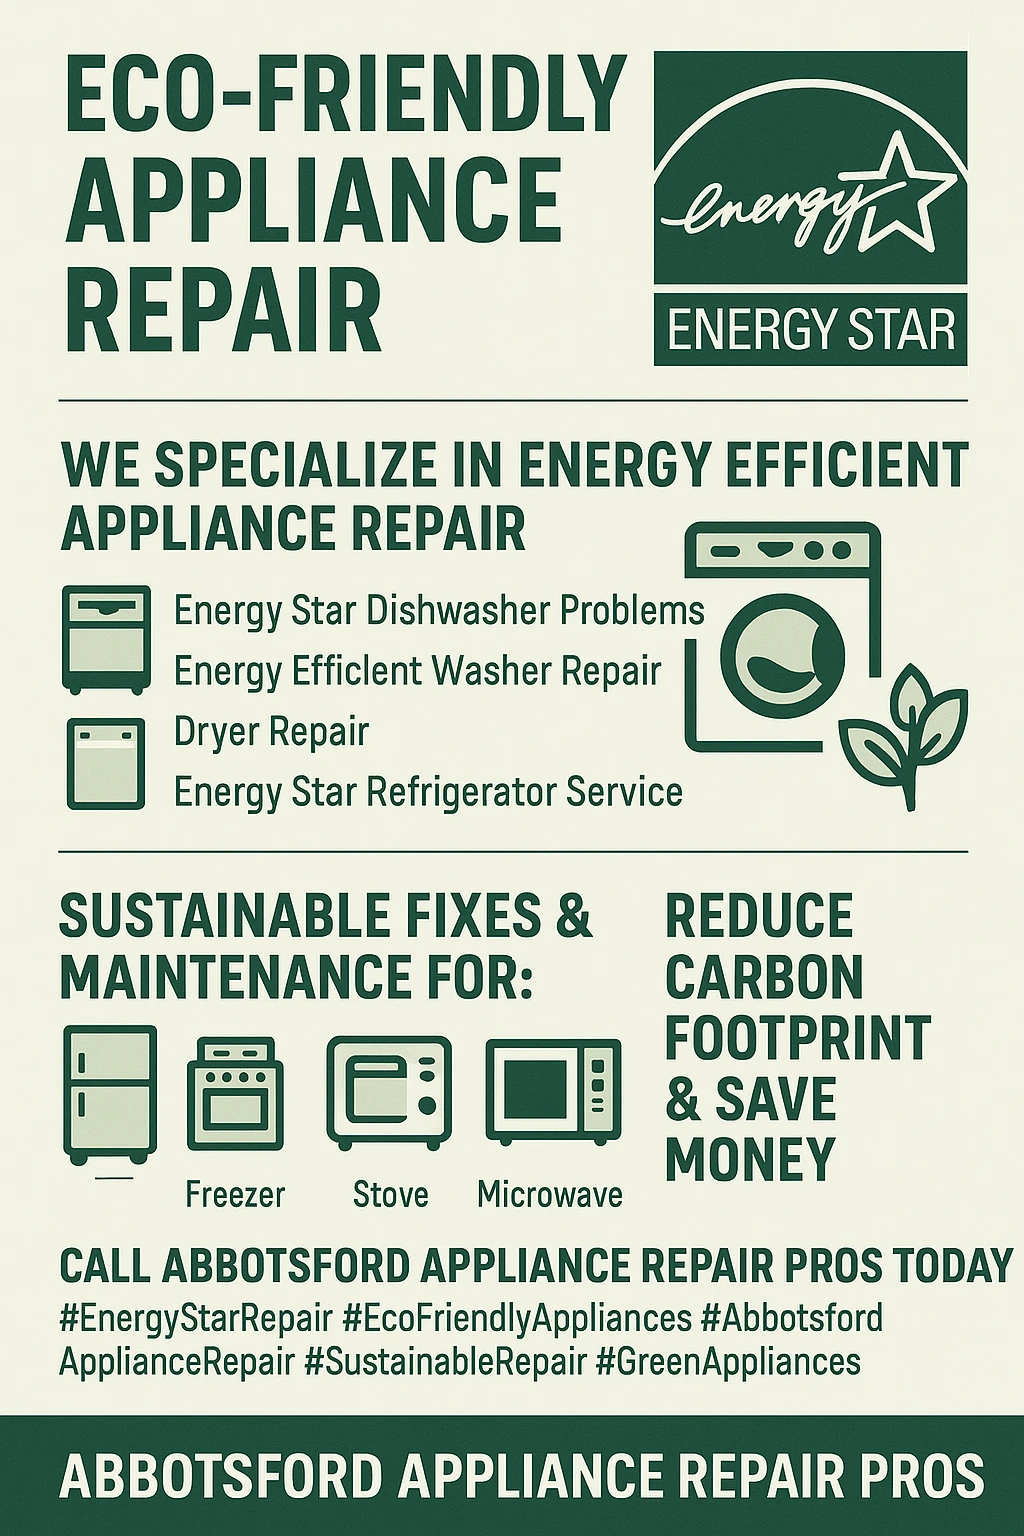
 When your Energy Star appliance starts showing signs of wear, the repair vs. replace debate becomes more complex than with standard appliances. These machines were designed with efficiency in mind, which means their components often work harder and more precisely than conventional models. The good news? This precision engineering also means that targeted repairs can restore them to peak performance more effectively. Energy Star appliances typically feature advanced sensors, variable-speed motors, and sophisticated control systems that optimize energy consumption. When one of these components fails, it doesn’t necessarily mean the entire appliance is doomed. In fact, replacing a single faulty sensor or recalibrating the control board can often restore the appliance to its original efficiency ratings. This is particularly important for residents in areas like Clearbrook and Matsqui, where utility costs can really add up over time. The environmental benefits of choosing repair over replacement extend beyond just keeping appliances out of landfills. Manufacturing new appliances requires significant energy and raw materials, even for Energy Star models. By repairing your existing appliance, you’re essentially extending its carbon footprint payback period – the time it takes for the energy savings to offset the environmental cost of manufacturing.
  Having worked with countless frustrated homeowners over the years, I’ve noticed that Energy Star appliances tend to develop specific types of problems that are actually quite repairable. The key is understanding what makes these appliances tick and addressing issues before they cascade into major failures. Refrigerators, being the workhorses of our kitchens, often develop efficiency problems related to their advanced defrost systems or variable-speed compressors. These components are designed to minimize energy consumption, but they can become less effective over time due to dust buildup, worn seals, or sensor malfunctions. A professional technician can often restore original efficiency by cleaning internal components, replacing worn door seals, or recalibrating temperature sensors. This is especially crucial for homeowners in neighborhoods like Bradner, where summer heat can put extra strain on cooling systems. Washing machines and dryers present their own unique repair opportunities. Energy Star washers use sophisticated water-level sensors and high-efficiency motors that can malfunction, leading to increased water or energy consumption. Rather than living with higher utility bills or rushing to replace the unit, targeted repairs can often restore optimal performance. Similarly, Energy Star dryers rely on moisture sensors and variable heat settings that may need professional adjustment or component replacement to maintain their efficiency ratings. Dishwashers deserve special mention because they’re often the most overlooked when it comes to efficiency maintenance. These appliances use complex wash-cycle algorithms and precision water heating to minimize both water and energy consumption. When these systems start failing, dishes might come out dirty, leading homeowners to run multiple cycles – completely defeating the energy-saving purpose. Professional repair can often involve cleaning spray arms, replacing water pumps, or updating control software to restore proper function.
 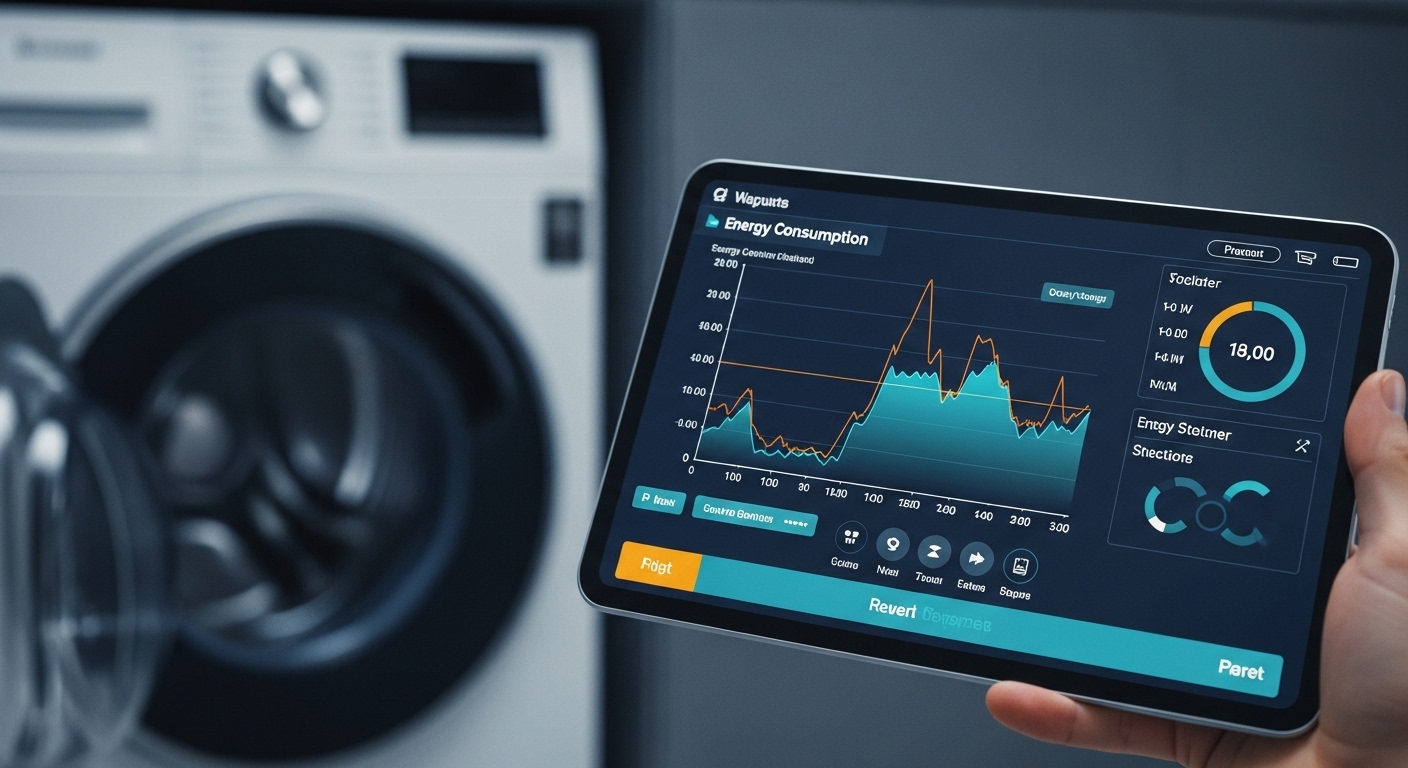 Here’s where things get really interesting, and honestly, where I wish I’d been smarter during my own appliance adventures. Energy Star appliances are basically the smartphones of the appliance world – they’re packed with technology that requires specialized knowledge to properly diagnose and repair. Attempting DIY fixes on these sophisticated machines can actually reduce their efficiency or void warranties. Professional appliance repair technicians have access to diagnostic tools and training specific to Energy Star models. They can identify issues that aren’t immediately obvious to homeowners, such as control board programming errors, sensor calibration problems, or efficiency-related component wear. This specialized knowledge is particularly valuable because Energy Star appliances often have multiple systems working together to achieve their efficiency ratings. A problem that seems isolated might actually be symptomatic of a larger efficiency issue. The diagnostic process for Energy Star appliances typically involves testing actual energy consumption against manufacturer specifications. This goes beyond simply checking if the appliance “works” – it ensures the appliance is working efficiently. For instance, a refrigerator might be cooling adequately but using 30% more energy than it should due to a faulty defrost timer or dirty condenser coils. Only through professional diagnosis would this inefficiency be identified and corrected. Moreover, professional repair services often have access to genuine Energy Star replacement parts that maintain the appliance’s certification. Using non-certified parts might fix the immediate problem but could compromise the appliance’s energy efficiency and potentially void its Energy Star rating. This is particularly important for homeowners who are conscious about their environmental impact or who might be participating in utility rebate programs that require maintaining Energy Star certification.
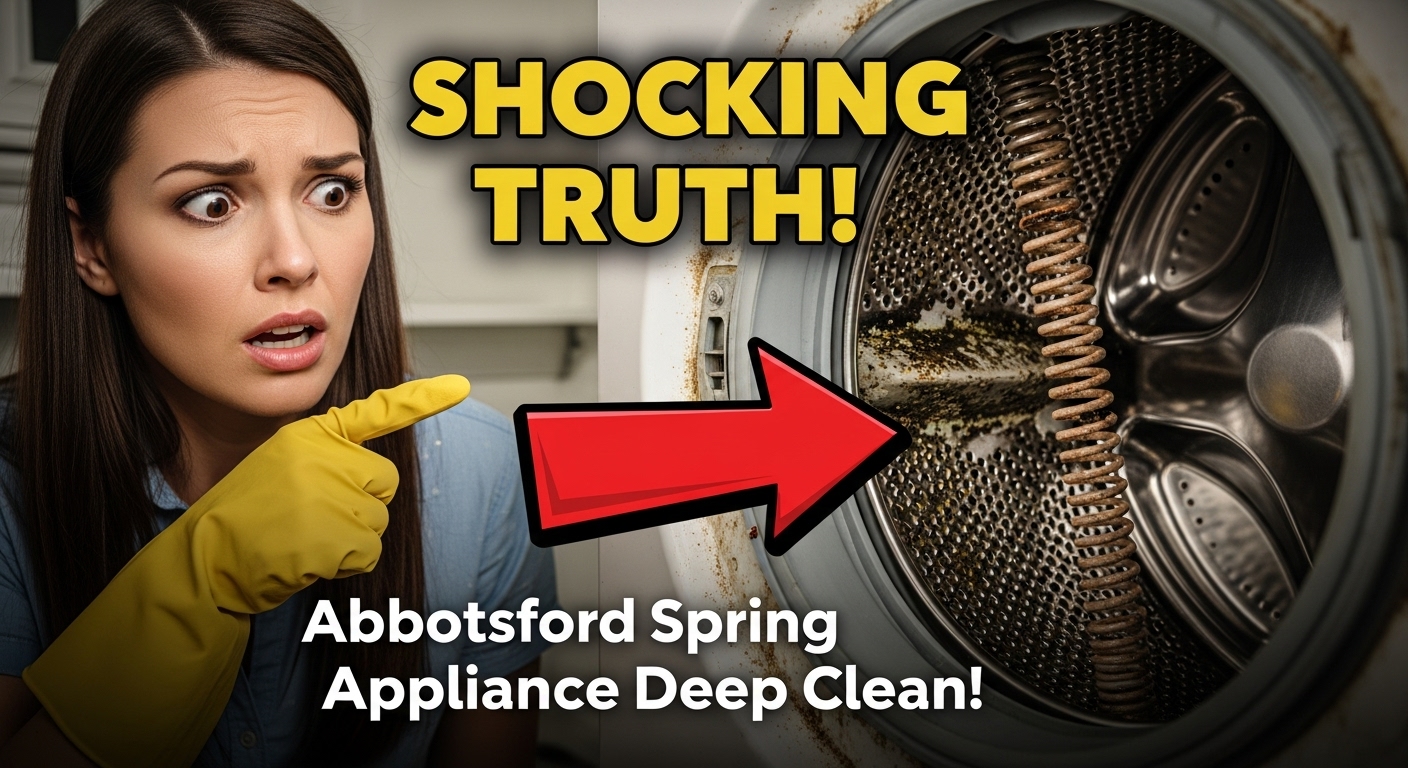

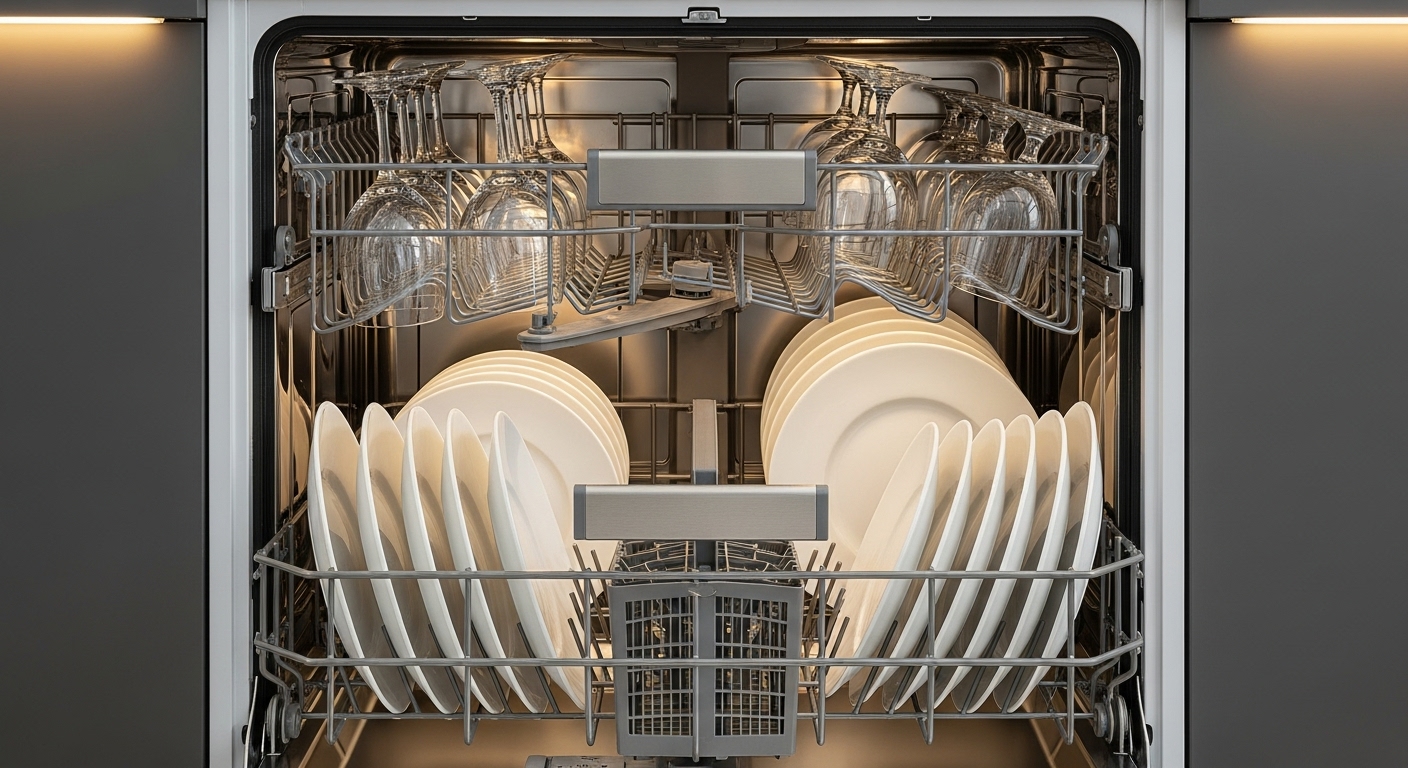
 Moving into your kitchen, these appliances have probably seen more action during winter than a busy restaurant. Between holiday cooking marathons, comfort food experiments, and just the general increase in home cooking when it’s cold outside, your oven, dishwasher, and microwave need some serious attention. The good news is that with the right approach, you can get them looking and performing like new without breaking the bank. Your oven is probably hiding some serious battle scars from winter cooking adventures. If you’ve got a self-clean cycle, spring is the perfect time to use it – just remove the racks first and ensure good ventilation because it can get smoky. For ovens without this feature, a paste made from baking soda and water left overnight works wonders on baked-on carbon buildup. The key is patience – let the paste do the heavy lifting, then scrub with a non-abrasive sponge. Don’t forget about your range hood filters while you’re in deep-cleaning mode. These often-forgotten components have been capturing grease and cooking odors all winter, and grease-laden filters are actually fire hazards. Soaking them in hot water with baking soda and dish soap breaks down the buildup, and you’ll be amazed at how much better your kitchen ventilation works afterward. Your dishwasher might seem self-cleaning, but it needs regular maintenance to perform at its best. Those spray arms can get clogged with food debris, and when they’re blocked, your dishes don’t get properly cleaned. Remove them (they usually twist off easily) and use a toothbrush to clear blockages. Run a maintenance cycle with white vinegar to break down detergent residue and mineral deposits – it’s like giving your dishwasher a spa day.
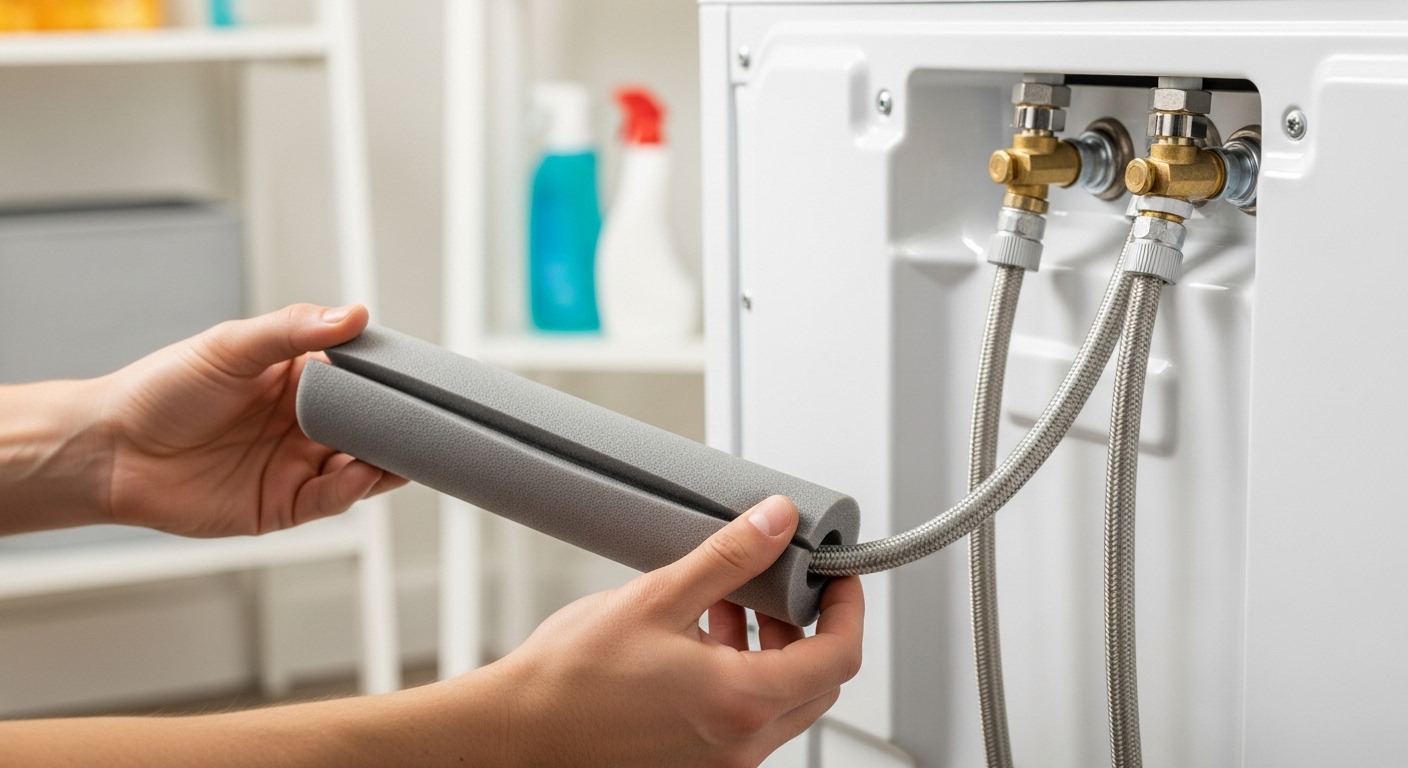
  Your laundry room has been working overtime during those cozy Abbotsford winter months, and it’s time to show these hardworking appliances some love. Between heavier fabrics, more frequent washing, and the general increase in indoor living, your washer and dryer need attention beyond just emptying the lint trap. This is where a thorough deep clean can prevent issues and extend the life of your appliances significantly. Starting with your dryer, that lint trap is just the tip of the iceberg. The real action happens in the exhaust vent, where lint builds up over time and creates a serious fire hazard while making your dryer work harder than it should. Disconnect the dryer and vacuum out the vent thoroughly – you’ll probably be shocked at how much lint has accumulated. While you’re at it, check the outdoor vent cover to make sure it opens and closes properly and isn’t blocked by debris. Your washing machine needs attention too, especially if you live in areas like Clearbrook or West Abbotsford where hard water can cause mineral buildup. Run an empty cycle with white vinegar to break down soap residue and mineral deposits, then follow up with a baking soda cycle to eliminate any lingering odors. Don’t forget to wipe down the rubber seal around the door (if you have a front-loader) because this area is prone to mold and mildew buildup. Check your washing machine hoses while you’re in maintenance mode. These rubber connections can develop cracks or weak spots over time, and a burst hose can cause thousands of dollars in water damage. Look for any signs of bulging, cracking, or mineral deposits, and replace them if they’re more than five years old. It’s a small investment that can prevent a major disaster, especially in neighborhoods like
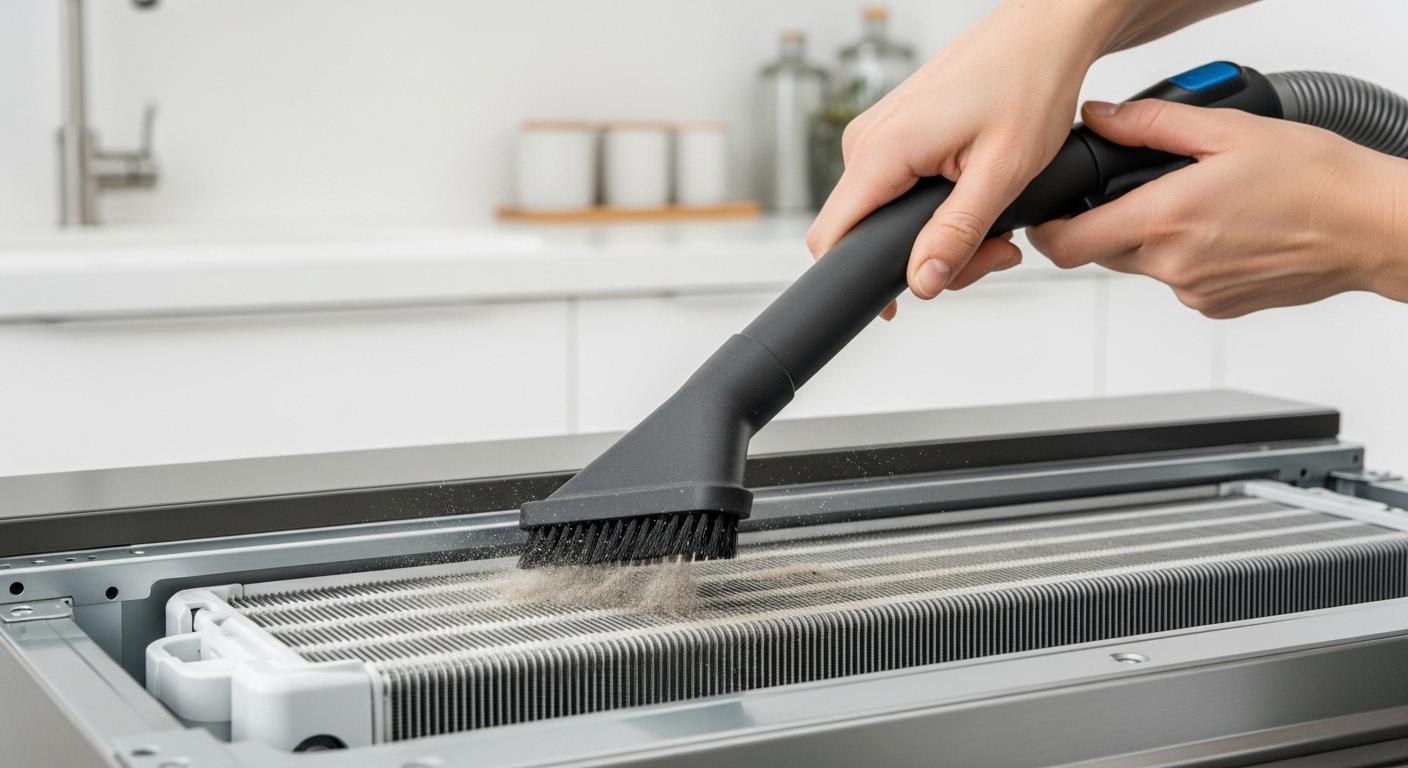
 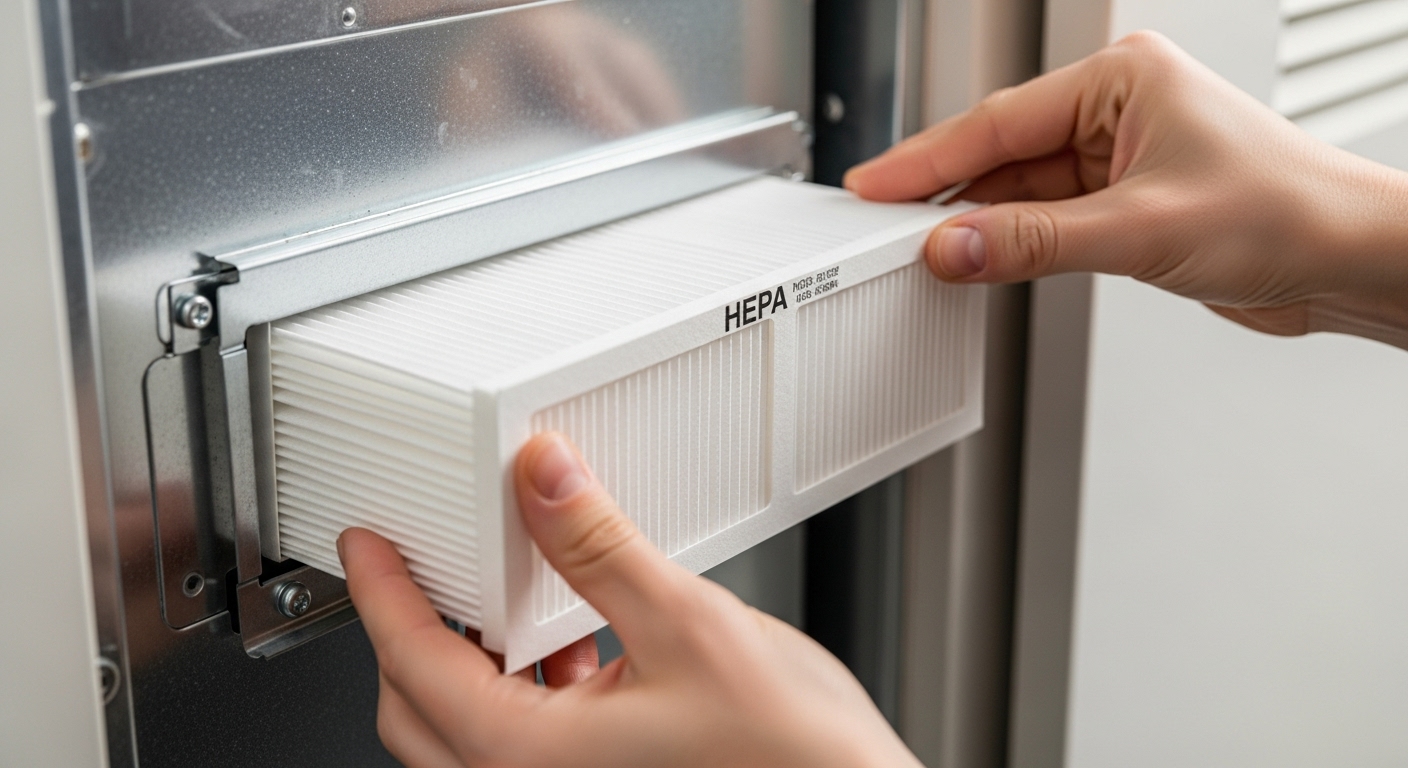 With Abbotsford’s spring bringing fresh air and unfortunately, plenty of pollen, your HVAC system needs special attention to handle the seasonal transition. Winter has left your system with accumulated dust and debris, and now it needs to gear up for spring allergens that can really challenge your indoor air quality. This is where a comprehensive HVAC cleaning becomes crucial for both system efficiency and family health. Beyond just changing filters, your HVAC system benefits from a thorough cleaning of vents, ducts, and the unit itself. Remove vent covers and wash them in soapy water while you vacuum out the visible ductwork. This simple step can improve airflow significantly and reduce the amount of dust circulating through your home. If you live in newer developments like Clayburn Village, where homes are built more tightly, proper ventilation becomes even more critical. Consider upgrading to smart thermostats and air quality monitors that can help you track when your system needs attention. These devices can alert you to filter changes, unusual energy usage, or air quality issues before they become problems. Many utility companies in Abbotsford offer rebates for energy-efficient upgrades, making this an excellent time to modernize your HVAC system. Don’t overlook your heat pump if you have one – these systems need regular coil cleaning and refrigerant level checks to maintain efficiency. Spring is an ideal time for a professional tune-up because you’re not relying on the system heavily for heating or cooling. A well-maintained heat pump can save you significant money on energy bills and provide better comfort year-round.
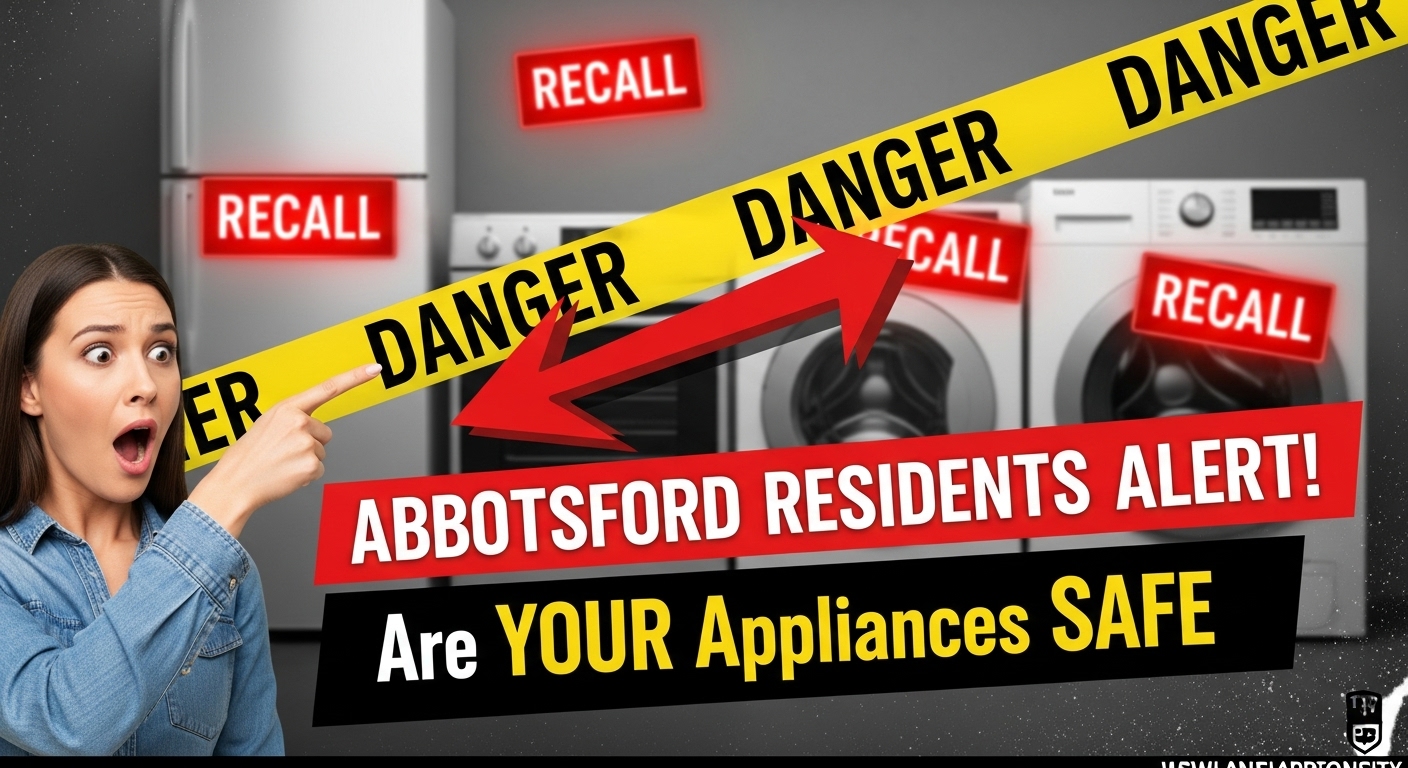

 Dishwashers typically have this information on the door frame or inside the door itself. Refrigerators usually display their identification on a sticker inside the fresh food compartment or on the back panel.
  Taking advantage of professional safety inspection services adds an extra layer of protection beyond basic recall checking. While individual homeowners can perform basic safety assessments, trained technicians possess specialized knowledge and tools that can identify potential hazards that might not be obvious to the average person. This becomes particularly important for older appliances or homes with complex electrical systems. Professional appliance safety inspections can identify issues that extend beyond manufacturer recalls. Technicians look for problems like improper installations, wear-related safety concerns, ventilation issues, and electrical hazards that develop over time. These inspections often reveal problems that could lead to fires, carbon monoxide leaks, or electrical shocks – issues that might not be covered by standard manufacturer recalls but are equally dangerous. Many local utility companies and safety organizations offer free or low-cost appliance safety inspections as part of their community outreach programs. These services typically include checking gas connections, electrical systems, ventilation adequacy, and overall appliance condition. Some programs specifically target older appliances or homes in certain neighborhoods, making professional safety assessments accessible to homeowners who might not otherwise afford them. The timing of professional inspections matters significantly for maximizing safety benefits. Schedule inspections during appliance installation, after major electrical work, following severe weather events, or when you notice any unusual sounds, smells, or performance changes. Regular inspections every few years can catch developing problems before they become serious safety hazards, potentially preventing fires or other dangerous situations.
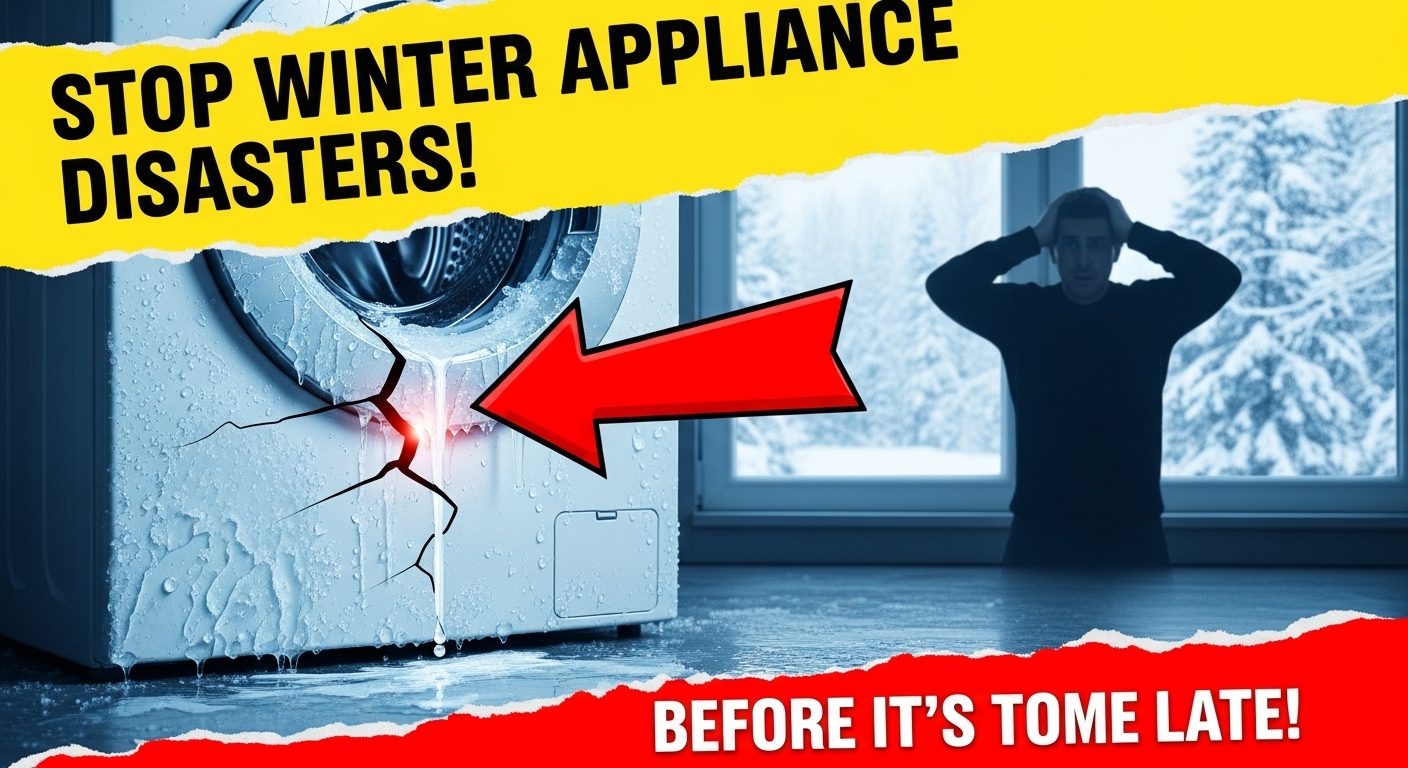

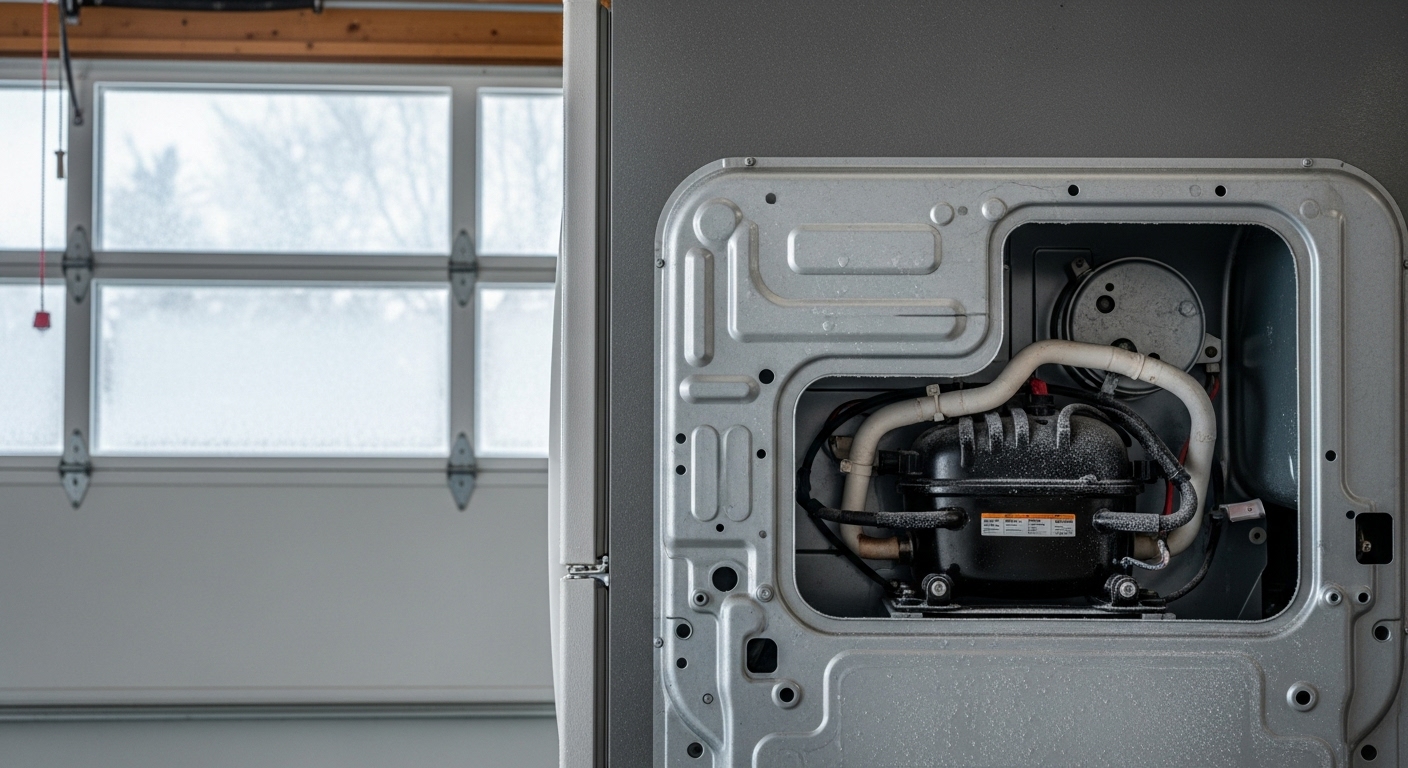 Let’s get real about which appliances are most likely to bail on you when the temperature drops. Understanding these weak spots helps you focus your prevention efforts where they’ll make the biggest difference. Refrigerators and freezers top the vulnerability list, especially if you’ve got one of those garage setups that’s so popular in neighborhoods like Clearbrook and Matsqui. When ambient temperatures drop below 60°F, most refrigerators start struggling to maintain proper internal temperatures. The compressor oil gets thick, door seals contract and lose their grip, and temperature sensors can start giving false readings that throw off the whole cooling cycle. Washing machines face their own winter nightmare scenario – frozen water supply lines. Those supply lines running through crawl spaces or along exterior walls are basically ticking time bombs once temperatures hit freezing. And it’s not just about burst pipes (though that’s definitely the worst-case scenario). Even temporary freezing can damage internal components like pumps and valves. Your dryer isn’t off the hook either – winter moisture and lint create the perfect recipe for blockages that reduce efficiency and create fire hazards.