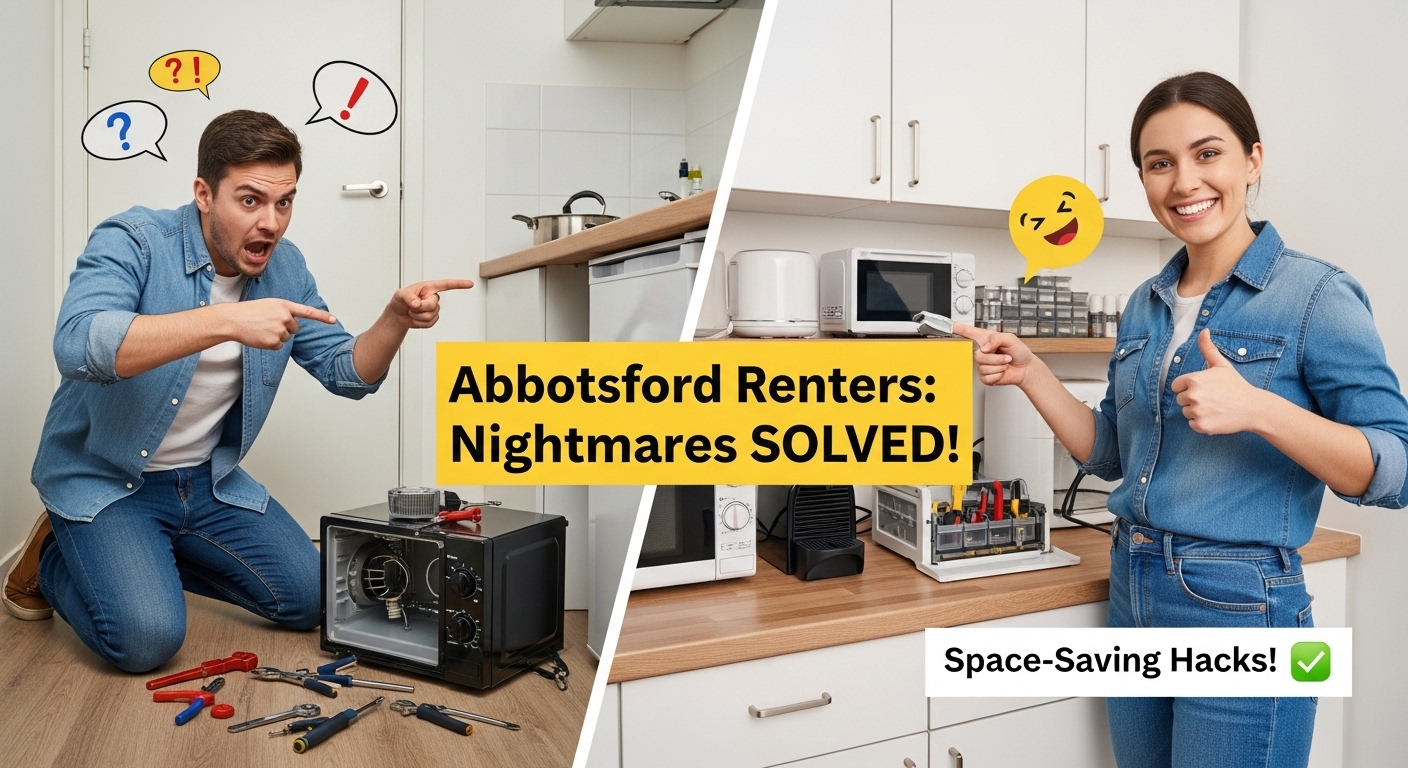
Apartment Living Appliance Challenges: Space-Saving Repair Solutions and Maintenance Hacks for Abbotsford Renters
Struggling with compact appliances breaking down in your cramped Abbotsford rental? Discover proven space-saving repair techniques and maintenance protocols that keep your small-space appliances running smoothly while protecting your security deposit and maintaining positive landlord relationships.
Living in an Abbotsford apartment means dealing with the unique challenges of maintaining appliances in tight quarters while navigating the complex relationship between tenant responsibilities and landlord obligations. Unlike homeowners who can choose their own appliances and repair schedules, renters must work within space constraints, lease agreements, and often outdated building infrastructure that wasn’t designed for modern compact appliances. The Lower Mainland’s climate adds another layer of complexity, with high humidity levels affecting everything from dryer performance to refrigerator efficiency.
Whether you’re dealing with a stackable washer-dryer combo that’s constantly throwing error codes, a compact dishwasher that leaves dishes dirty, or a mini-fridge that suddenly stopped cooling, understanding the specific maintenance needs of small-space appliances can save hundreds in emergency repair costs. Smart apartment dwellers in Abbotsford have learned that proactive maintenance, strategic troubleshooting, and knowing when to call professionals versus attempting DIY fixes makes the difference between smooth sailing and constant appliance headaches. This comprehensive guide addresses the real-world challenges facing apartment renters, from space optimization strategies to navigating BC tenancy laws around appliance responsibilities.
The stakes are higher for renters than homeowners when appliances fail – emergency repairs can strain budgets, disputes over repair responsibility can damage landlord relationships, and improper maintenance can result in security deposit losses. However, with the right knowledge and protocols, apartment living doesn’t have to mean constantly struggling with unreliable appliances or expensive service calls.
Key Takeaways:
- Space-saving compact appliances can reduce functionality by 15-30%, requiring strategic maintenance routines and troubleshooting approaches different from standard-size units
- Renters have specific responsibilities under BC rental law that often overlap with landlord obligations, making clear communication and documentation essential for avoiding disputes
- Preventative maintenance can reduce emergency repairs by up to 40%, translating to lower costs and fewer disruptions for both tenants and property owners
- Local appliance repair services in Abbotsford offer specialized knowledge of regional electrical codes and housing requirements that generic online troubleshooting cannot address
- The “50% rule” for repair versus replacement decisions is critical for renters to understand, as repair costs exceeding half the price of new appliances warrant replacement consideration
Understanding Appliance Challenges in Small Spaces
The transition from standard home appliances to compact apartment models creates unique maintenance challenges that catch many renters off guard. Compact appliances in apartments typically measure 24 inches or less in width compared to standard 30-inch models, creating a domino effect of performance limitations and accelerated wear patterns. This size reduction isn’t just about fitting through doorways – it fundamentally changes how these appliances operate, fail, and require maintenance. Understanding these differences is crucial for developing effective maintenance protocols that extend appliance lifespan.
Space constraints extend beyond the appliances themselves to impact installation and repair accessibility. Many Abbotsford apartments feature older building designs where hallways, doorways, and utility closets weren’t originally planned for modern appliances. This creates clearance challenges not just during installation, but also during routine maintenance and professional repairs. Service technicians often struggle to access compact units wedged into tight spaces, potentially increasing service costs and limiting repair options. Smart renters develop a “measure twice, install once” protocol that accounts for both the appliance dimensions and the spatial requirements for ongoing maintenance access.
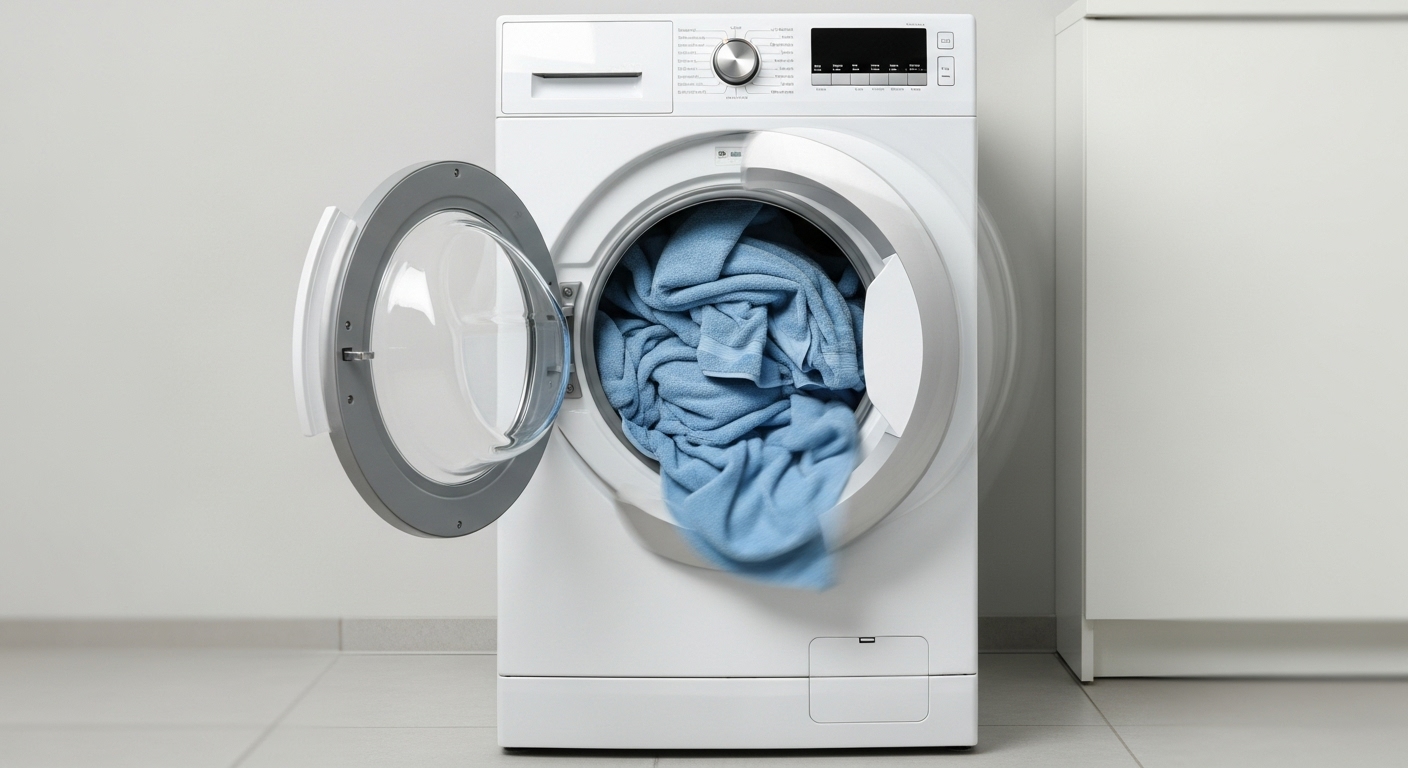
The increased wear and tear from limited capacity represents one of the most significant challenges facing apartment dwellers. Compact washers and dryers require smaller load capacities, which means more frequent cycles to handle the same amount of laundry as standard units. This increased usage accelerates component degradation, with lint traps, water pumps, and heating elements experiencing significantly more stress cycles than their full-sized counterparts. Research on compact laundry units shows that failure rates increase by approximately 23% compared to standard models due to this intensive usage pattern.
Electrical and plumbing infrastructure limitations in older Abbotsford buildings compound these challenges. Many apartments built before 2000 have electrical systems that weren’t designed to handle multiple high-draw compact appliances operating simultaneously. Circuit overloads become common when tenants run dishwashers, microwaves, and other appliances concurrently, leading to frequent breaker trips and potential fire hazards. Additionally, plumbing proximity issues require strategic appliance placement, as water pressure and drainage capacity may not adequately support compact units located far from main supply lines.
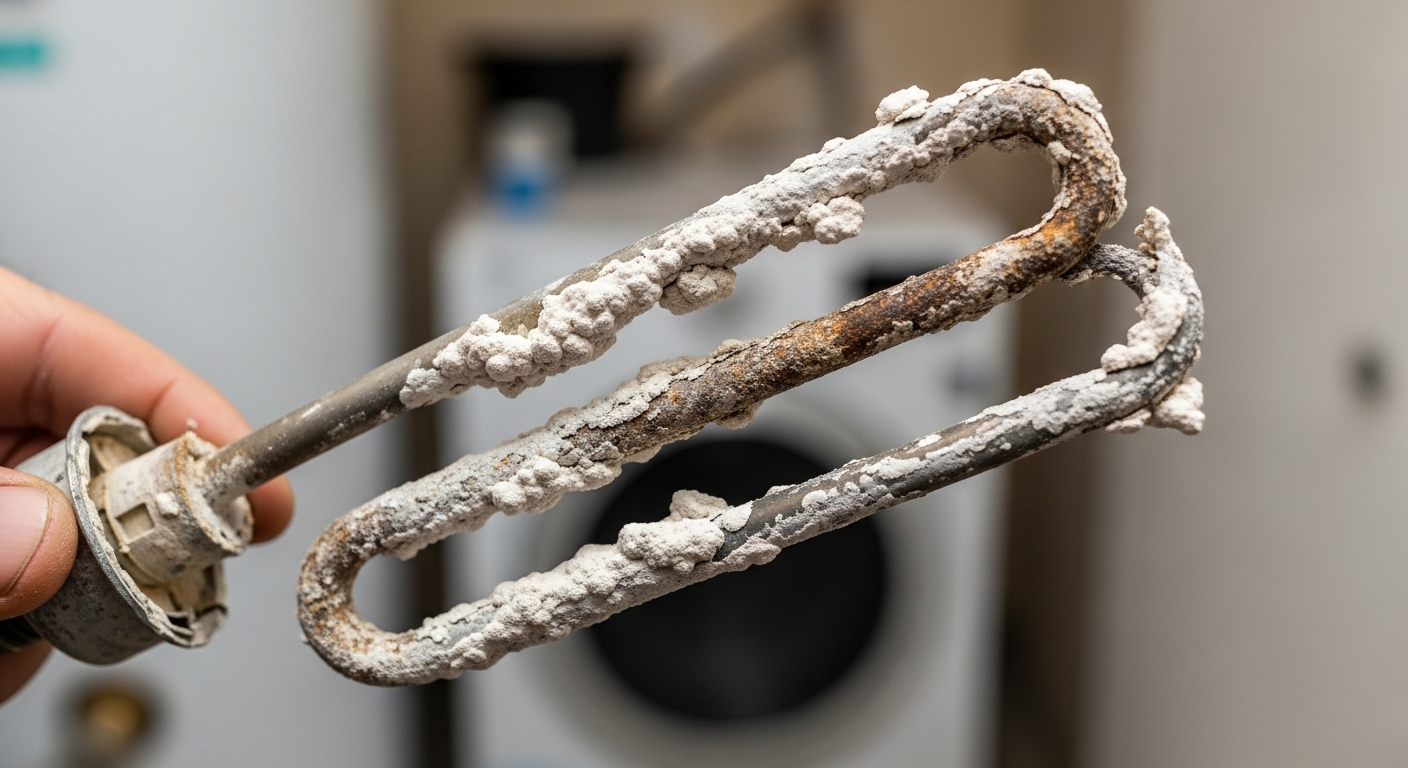
Climate considerations specific to Abbotsford’s Lower Mainland location create additional maintenance requirements that generic appliance guides don’t address. The region’s high humidity levels, particularly during fall and winter months, affect everything from dryer venting efficiency to refrigerator condenser performance. Compact appliances, with their reduced internal air circulation and tighter component spacing, are particularly susceptible to humidity-related performance degradation. Developing maintenance schedules that account for these regional climate factors becomes essential for preventing premature appliance failures and maintaining optimal performance throughout the year.
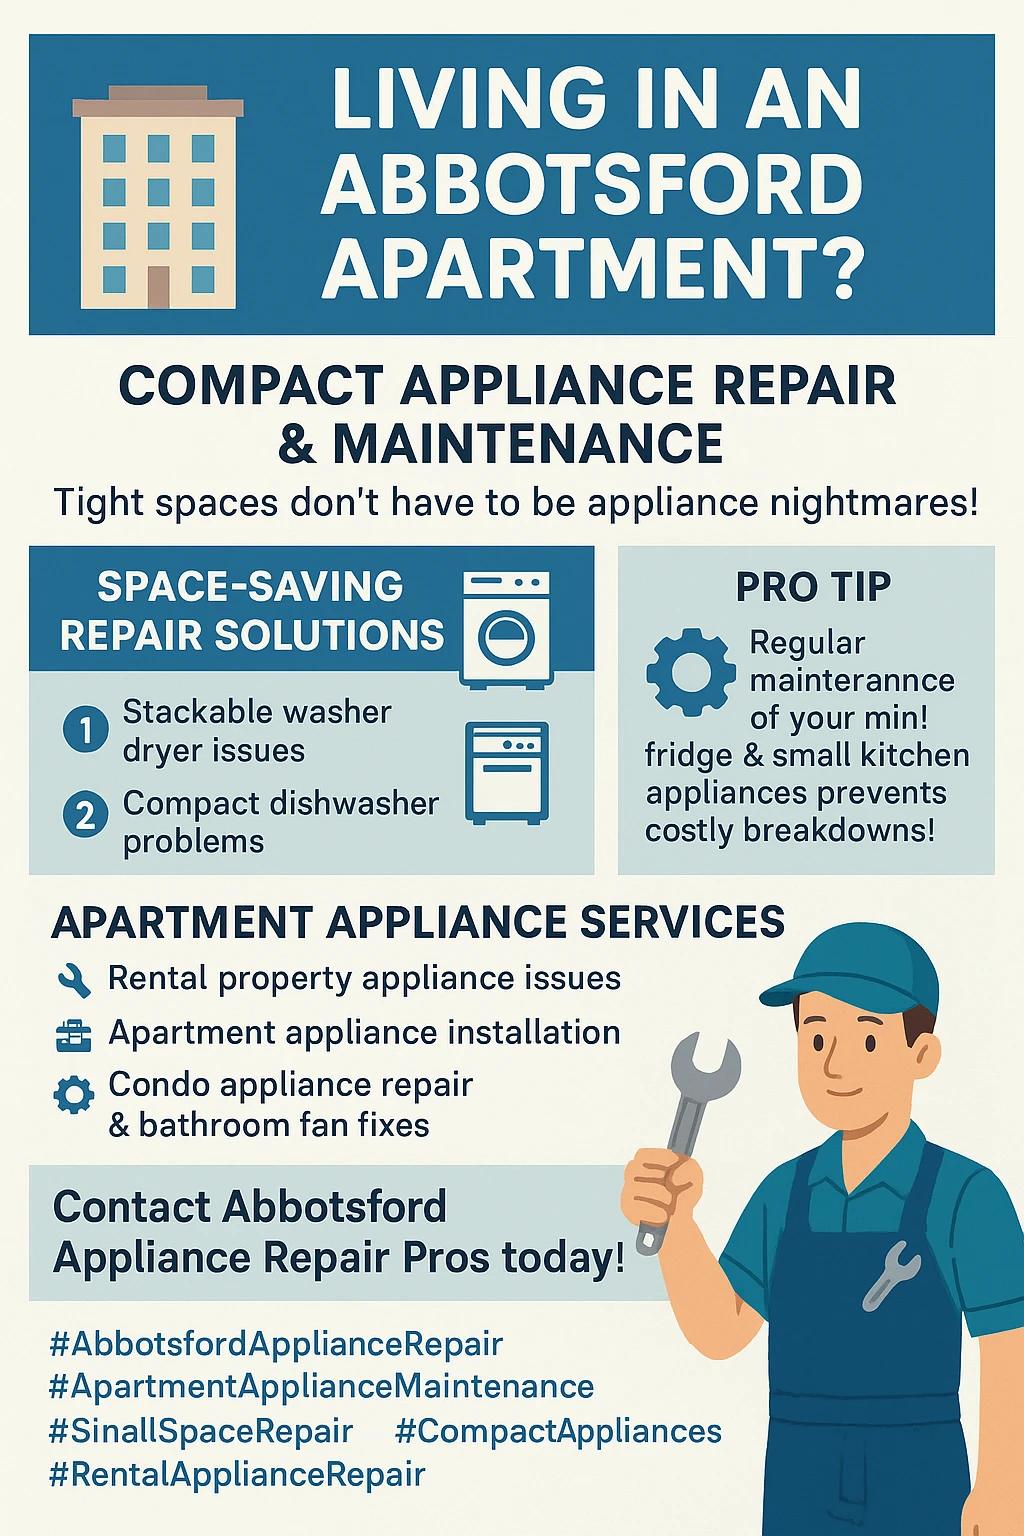
Space-Saving Solutions for Apartment Appliances
Moving beyond standard appliance layouts, apartment dwellers must embrace creative installation strategies that maximize both functionality and available space. The key lies in understanding that compact doesn’t necessarily mean compromised – when properly selected and maintained, space-saving appliances can deliver excellent performance within the constraints of apartment living. The challenge involves matching appliance capabilities with realistic usage expectations while ensuring adequate clearance for maintenance and repair access.
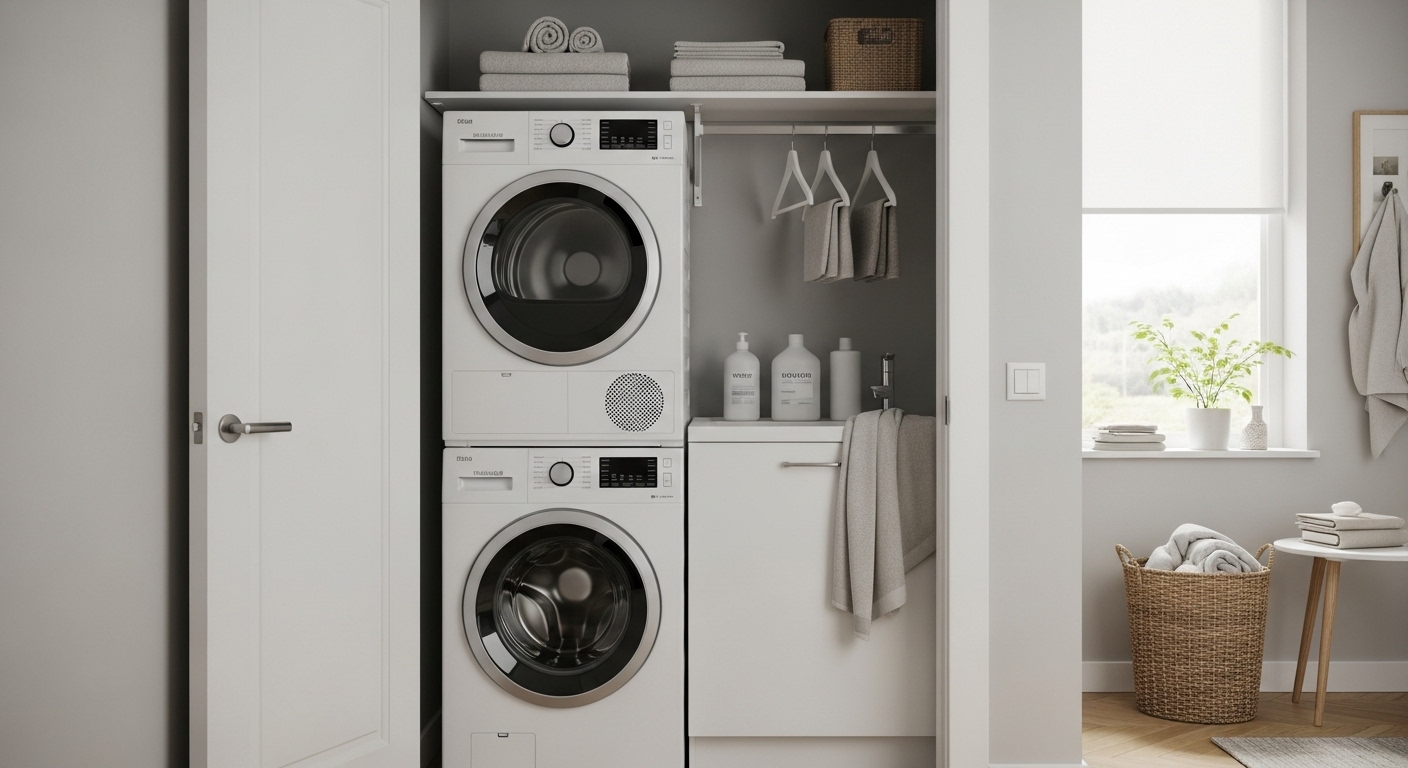
Stackable and combination washer-dryer units represent the most popular space-saving solution, reducing footprint by 40-50% compared to side-by-side installations. However, this space savings comes with specific maintenance requirements that differ significantly from separate units. Combination units experience higher failure rates due to shared components and more complex internal systems, requiring monthly rather than quarterly maintenance protocols. The all-in-one design means that when failures occur, both washing and drying capabilities are affected simultaneously, making preventative maintenance even more critical for avoiding extended periods without laundry access.
Proper installation of stackable units requires careful attention to vibration control and structural support, particularly in older Abbotsford apartments with wooden floor joists. Inadequate mounting can create noise issues that disturb neighbors and potentially violate lease noise clauses. The vertical configuration also complicates lint removal and filter access, requiring tenants to develop systematic maintenance routines that address both upper and lower unit components. Professional installation becomes particularly valuable for ensuring proper venting and electrical connections that meet local building codes.
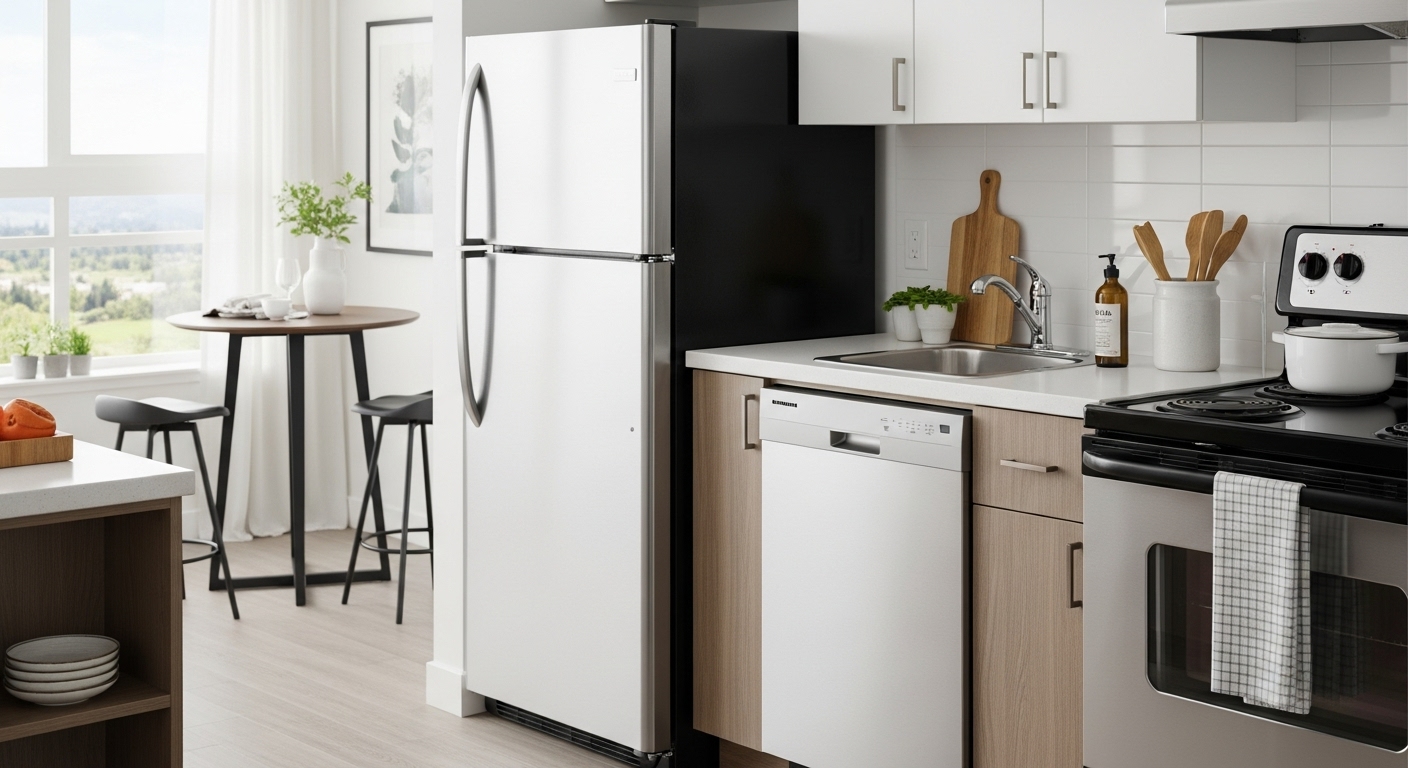
Compact kitchen appliances offer significant functionality when selected strategically for apartment layouts. Eighteen to twenty-four inch dishwashers, refrigerators, and ranges can meet most household needs without sacrificing essential cooking and food storage capabilities. The key lies in understanding capacity limitations and adjusting usage patterns accordingly. Counter-depth refrigerators maximize storage while maintaining walkway clearance, while drawer-style dishwashers can fit under counters that couldn’t accommodate standard units.
Multi-functional appliances provide additional space optimization opportunities, though they require more complex maintenance protocols. Microwave-convection oven combinations, induction cooktop-storage units, and washer-dryer combos consolidate multiple functions into single appliances. While this maximizes space efficiency, it also means that single-component failures can disable multiple functions. Tenants using multi-functional appliances must develop comprehensive maintenance routines that address all operational systems, not just the most frequently used features.
Under-counter and built-in installation options provide excellent space reclamation but require careful coordination with landlords and building management. These installations often involve permanent modifications to cabinetry or plumbing that must be approved in advance and may affect security deposit terms. Proper clearance requirements for built-in appliances include minimum spacing for air circulation and heat dissipation to prevent overheating and premature component failure. Local Abbotsford building codes often have specific requirements for built-in appliance ventilation, making professional consultation essential before undertaking such modifications.
Proactive Maintenance Protocols for Renters
Implementing a routine maintenance schedule is the single most effective strategy for preventing appliance breakdowns and extending their lifespan. For renters, this proactive approach not only ensures consistent appliance performance but also demonstrates responsible tenancy, which can strengthen landlord relationships and protect security deposits. A well-documented maintenance log provides tangible evidence of care should any disputes arise over appliance failures. These protocols don’t need to be complex; simple, consistent checks can prevent over 70% of common compact appliance issues.
Monthly Maintenance Checklist:
- Refrigerator Coils: Vacuum condenser coils (usually located at the back or bottom) to remove dust and pet hair buildup, which can improve cooling efficiency by up to 25%. Ensure there’s at least one inch of clearance for airflow.
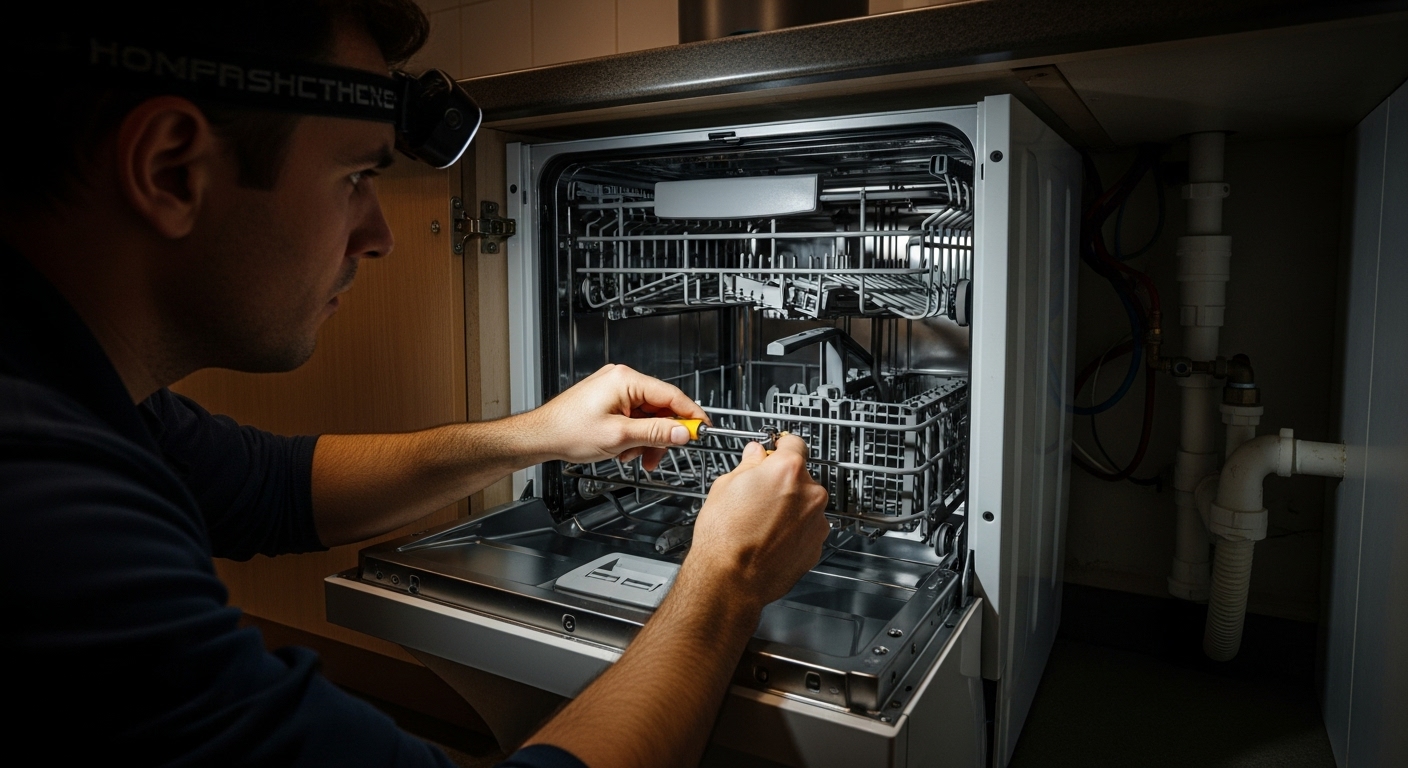
- Dishwasher Filter: Clean the filter at the bottom of the dishwasher to remove food particles that can cause clogs, unpleasant odors, and poor cleaning performance. Most compact models have a twist-off filter for easy access.
- Washer/Dryer Lint Traps: Clean the dryer lint screen after every single load. For combo units, check for a secondary lint trap near the condenser unit and clean it monthly to prevent fire hazards and improve drying times.
- Garbage Disposal: Run a handful of ice cubes and citrus peels through the disposal to sharpen the blades and deodorize the unit. Avoid pouring grease or fibrous materials down the drain.
Quarterly Maintenance Checklist:
- Washing Machine: Run an empty cycle with a washing machine cleaner or a solution of vinegar and baking soda to remove soap scum and mildew buildup, particularly around the door gasket of front-loading models.
- Range Hood Filter: Degrease the metal mesh filter of the range hood by soaking it in a solution of hot water and dish soap. Proper airflow is critical in small apartments to manage cooking odors and grease.
- Refrigerator Gaskets: Wipe down the rubber door seals with warm, soapy water to remove grime that can prevent a proper seal, leading to energy waste and cooling issues.
- Dishwasher Spray Arms: Use a pin or toothpick to clear any clogged holes in the dishwasher’s spray arms to ensure proper water distribution for effective cleaning.
By following these simple schedules, Abbotsford renters can significantly reduce the likelihood of emergency repair calls. These tasks take only a few minutes each month but pay substantial dividends in appliance reliability and longevity. Documenting these actions with dates and notes in a simple logbook or digital file can be invaluable during move-out inspections or if a landlord questions the cause of an appliance malfunction.
Navigating Landlord Responsibilities and BC Tenancy Laws
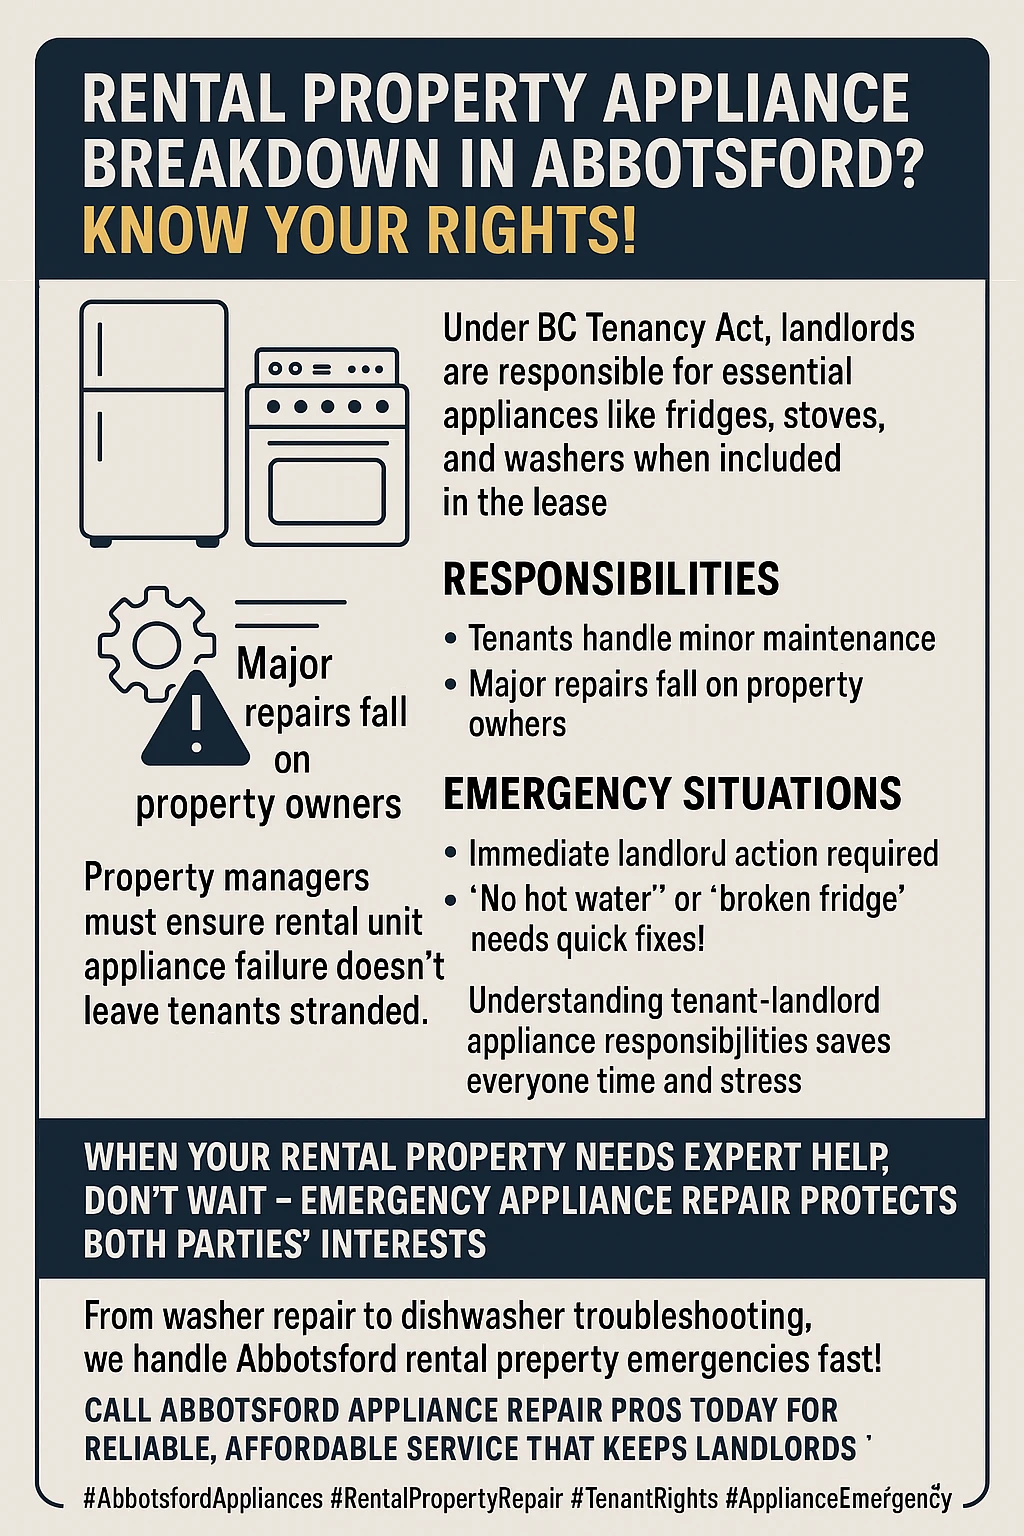
Understanding the division of responsibilities between tenants and landlords is crucial for a conflict-free rental experience, especially when it comes to appliance repairs. In British Columbia, the Residential Tenancy Act (RTA) outlines the legal obligations for both parties. Generally, the landlord is responsible for ensuring that appliances included in the tenancy agreement are in good working order at the start of the tenancy and for maintaining them throughout. This includes arranging and paying for repairs that result from normal wear and tear.

However, the tenant’s responsibility is to use the appliances reasonably and to keep them in a state of ordinary cleanliness. Crucially, tenants are responsible for the cost of repairs if the damage is caused by their negligence or willful action. This is where proactive maintenance and clear communication become essential. For example, if a dishwasher clogs because the tenant never cleaned the filter, the repair cost could fall on the tenant. Conversely, if a refrigerator’s compressor fails due to age, the repair is typically the landlord’s responsibility.
Steps to Take When an Appliance Breaks Down:
- Notify the Landlord Immediately: Report the issue in writing (email or text message is best for documentation) as soon as it occurs. Provide specific details, including the appliance model, the nature of the problem, and any error codes displayed.
- Document Everything: Take photos or videos of the malfunctioning appliance. Keep a record of all communication with your landlord, including dates, times, and a summary of conversations.
- Do Not Attempt Major DIY Repairs: Unless you have explicit permission from your landlord, attempting complex repairs yourself can void warranties and may make you liable for any further damage caused. Simple troubleshooting like checking a circuit breaker is acceptable, but disassembling an appliance is not.
- Allow Reasonable Access: Landlords must provide at least 24 hours’ written notice before entering your unit for repairs, unless it’s an emergency. Cooperate by providing reasonable access for service technicians.
If a landlord fails to make necessary repairs in a timely manner, tenants have recourse through the Residential Tenancy Branch (RTB). This may include applying for dispute resolution to request an order for the landlord to complete the repairs or for monetary compensation. However, tenants should never withhold rent as a way to force repairs, as this is a breach of the tenancy agreement and can lead to eviction. Following the proper channels protects both the tenant’s rights and the landlord-tenant relationship.
When to Call a Professional vs. DIY Fixes
For apartment renters, the decision to attempt a DIY repair versus calling a professional is weighted with different considerations than for homeowners. The primary goal is to resolve the issue efficiently without violating the lease agreement or causing further damage that could impact the security deposit. A clear understanding of what constitutes a “minor fix” versus a “major repair” is essential for navigating this process successfully.
Minor, low-risk DIY fixes are generally acceptable and can save time and hassle. These include tasks that don’t require specialized tools or interaction with electrical or plumbing systems. For example, resetting a garbage disposal, cleaning a clogged dishwasher filter, or replacing a burnt-out refrigerator light bulb are all safe and appropriate for a tenant to handle. These actions fall under the tenant’s responsibility for basic upkeep and cleanliness. Following the troubleshooting steps in an appliance’s user manual for simple error codes is also a good first step before contacting the landlord.
Situations That Always Require a Professional Technician:
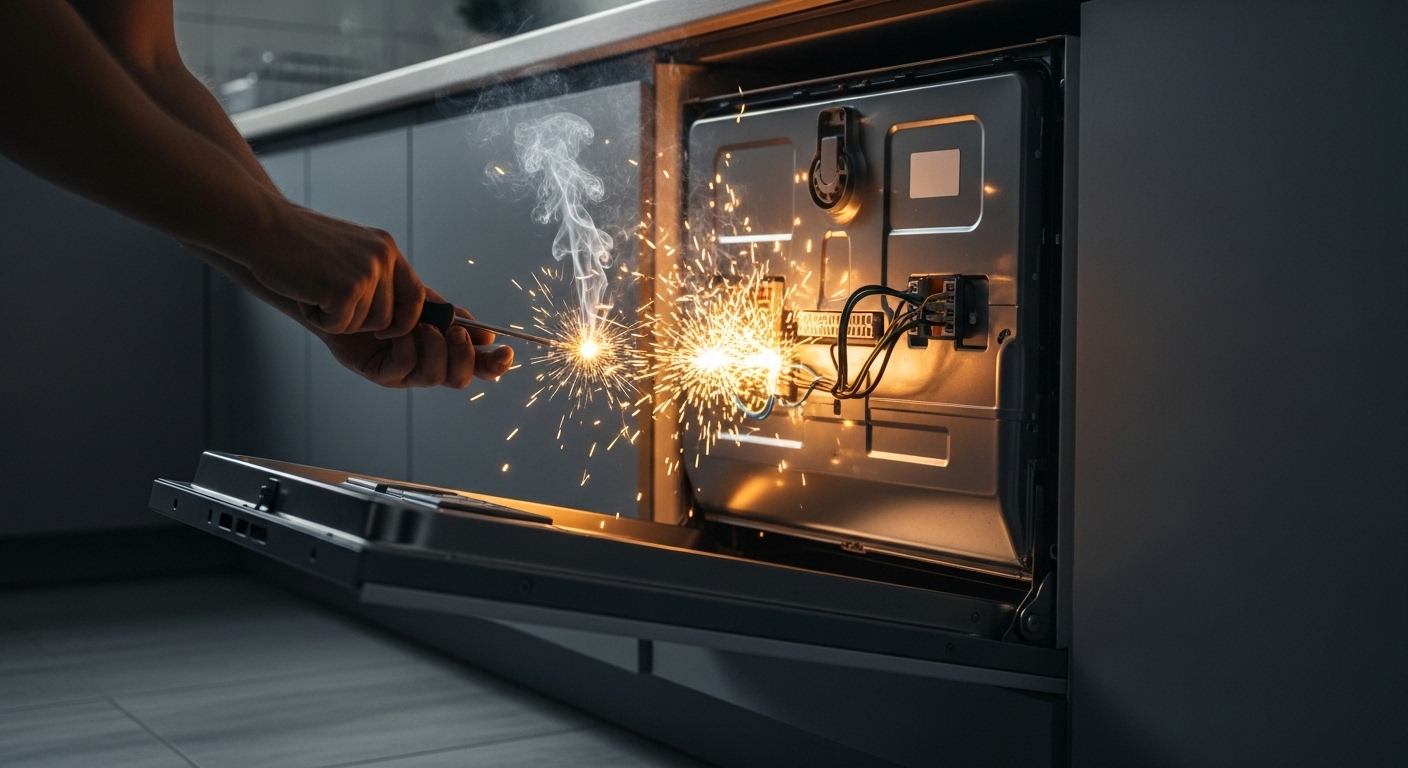
- Electrical Issues: Any problem involving sparks, burning smells, frayed wiring, or frequently tripping breakers requires immediate professional attention. Never attempt to repair electrical components yourself.
- Water Leaks: A leaking dishwasher, washing machine, or refrigerator poses a significant risk of water damage to the unit and surrounding apartments. Shut off the water supply if possible and notify your landlord immediately to dispatch a professional.
- Gas Appliances: If you smell gas or suspect a problem with a gas stove or dryer, evacuate the area, call your gas provider’s emergency line, and then inform your landlord. Do not attempt any repairs.
- Sealed System Repairs: Issues with a refrigerator’s compressor or coolant system are complex and require certified technicians with specialized equipment.
- Internal Component Failure: Problems like a broken washer drum, a malfunctioning dishwasher motor, or a failed oven heating element are not DIY-friendly and should be handled by a qualified repair service.
The “50% rule” is a useful guideline for both tenants and landlords when discussing repair options. If the cost of a professional repair exceeds 50% of the value of a new, comparable compact appliance, it may be more economical to replace the unit. While the final decision rests with the landlord, a tenant can present this argument if faced with a failing appliance that requires frequent, costly repairs. A local Abbotsford appliance repair company can provide a reliable quote that helps inform this decision, ensuring that both parties have accurate information based on regional parts and labor costs.
Frequently Asked Questions (FAQs)
1. Who is responsible for replacing a broken appliance in a rental unit in Abbotsford?
In British Columbia, the landlord is generally responsible for repairing or replacing appliances that were included with the rental unit, as long as the breakdown is due to normal wear and tear and not tenant negligence. If a repair is not feasible or cost-effective, the landlord must replace it with a comparable model.
2. Can my landlord make me pay for a service call?
A landlord can only charge you for a service call if the repair was necessary due to your negligence or misuse of the appliance (e.g., a dishwasher clog caused by improper loading or failure to clean the filter). For failures from normal use, the landlord bears the cost.
3. How long does my landlord have to fix a broken appliance?
The RTA requires landlords to make repairs in a “reasonable” amount of time. This is not strictly defined, but essential appliances like a refrigerator should be addressed within a few days, while less critical ones like a dishwasher might have a slightly longer timeframe. If delays are unreasonable, you can apply for dispute resolution with the RTB.
4. What should I do if my compact washer-dryer combo is not drying clothes properly?
First, clean the lint filter thoroughly, as this is the most common cause. For ventless combo units, a clogged condenser can also be the culprit. If these basic maintenance steps don’t solve the problem, report it to your landlord, as it may indicate a more serious issue with the heating element or airflow system.
5. Is it safe to use extension cords for my apartment appliances?
It is strongly discouraged. Major appliances like refrigerators, microwaves, and portable air conditioners should always be plugged directly into a wall outlet designed to handle their power draw. Using an extension cord can create a serious fire hazard and may violate your lease agreement or local fire codes.
Wrapping Up
Successfully managing appliances in an Abbotsford apartment hinges on a combination of proactive maintenance, smart space-saving strategies, and a clear understanding of your rights and responsibilities as a renter. By implementing routine cleaning and inspection schedules for your compact appliances, you can prevent the majority of common failures, ensuring they run efficiently and reliably. When issues do arise, prompt and well-documented communication with your landlord is key to a swift and amicable resolution, protecting both your rental experience and your security deposit.
Navigating the specific challenges of limited space, older building infrastructure, and BC’s tenancy laws doesn’t have to be overwhelming. Remember to distinguish between minor DIY fixes and problems that require professional intervention, and never hesitate to call for expert help when dealing with electrical, gas, or water-related issues. By leveraging the expertise of local Abbotsford appliance repair professionals, both tenants and landlords can make informed decisions that prioritize safety, cost-effectiveness, and the long-term health of the property’s essential appliances.


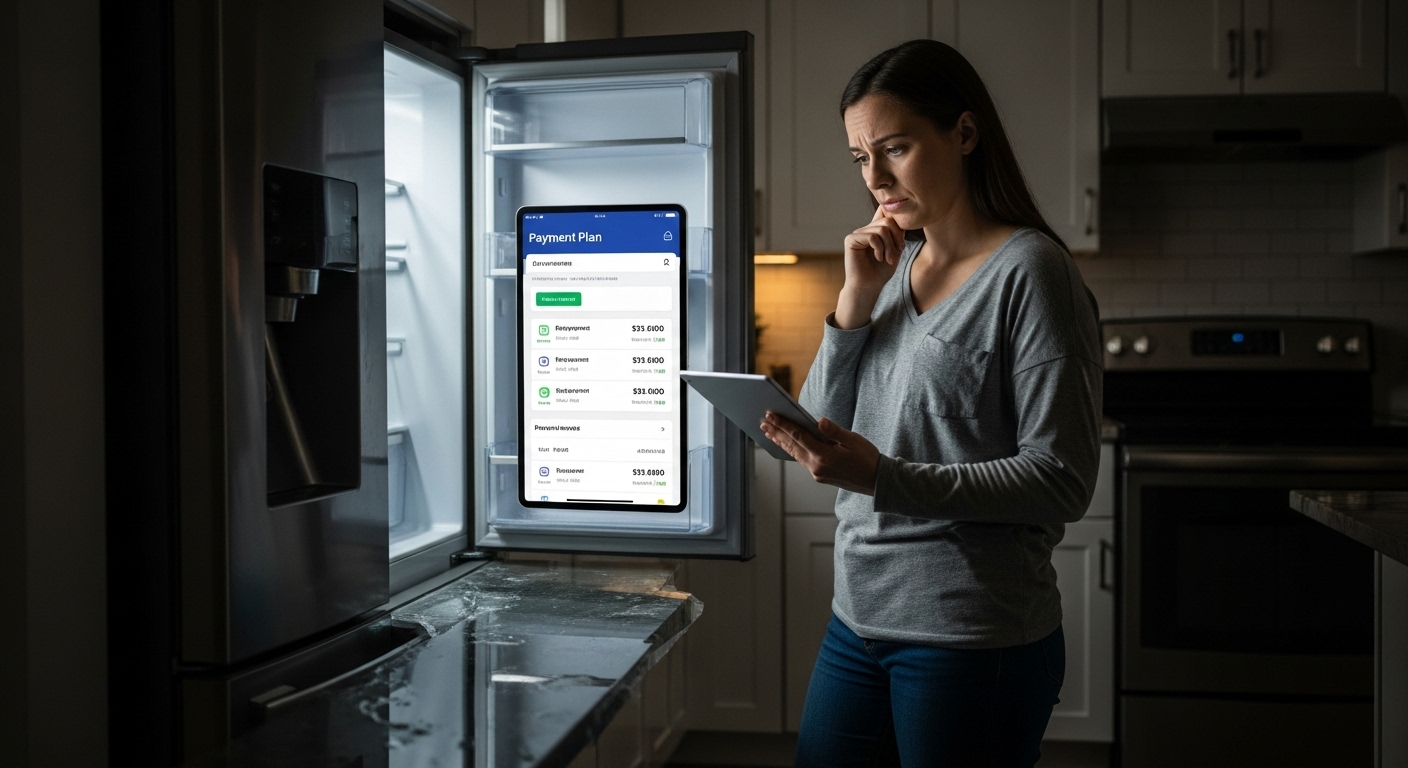 What makes appliance repair financing particularly tricky is the emergency nature of most repairs. Unlike planning for a kitchen renovation where you have months to research financing options, appliance breakdowns demand immediate solutions. This urgency can lead to poor financial decisions if you’re not familiar with your options beforehand. Understanding the landscape now, before you need it, puts you in control when crisis strikes. The financing ecosystem includes several distinct categories: buy-now-pay-later services that split purchases into manageable installments, personal loans from banks and online lenders, in-store financing programs offered by appliance retailers, specialized appliance financing companies, and alternative options like rent-to-own arrangements. Each category serves different needs and credit profiles, with varying costs and qualification requirements that significantly impact your total expense.
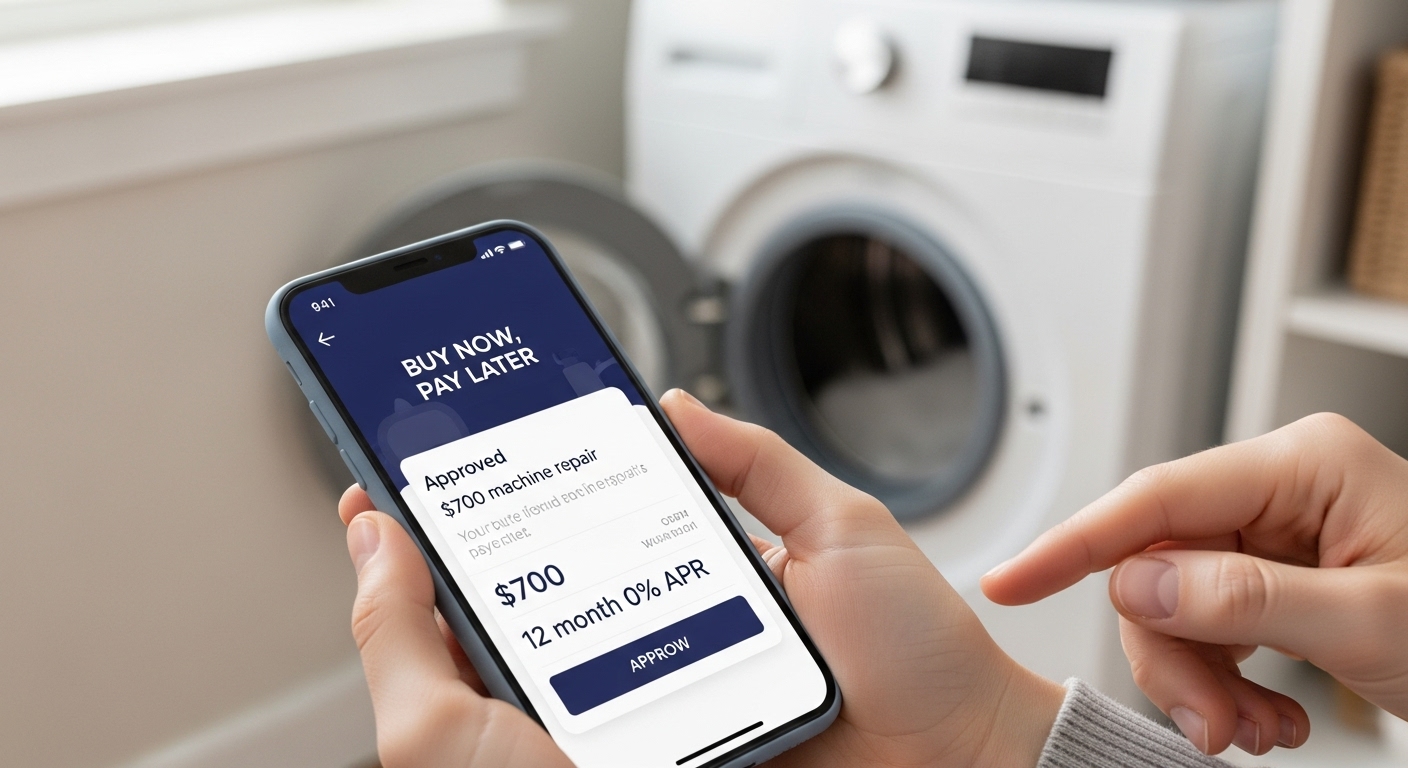 The application process for buy-now-pay-later services stands out for its simplicity and credit-friendly approach. Most providers use soft credit checks for prequalification, which means you can see if you qualify and for what terms without any impact on your credit score. This feature alone makes BNPL services incredibly attractive for homeowners who want to explore their options without consequences. Only when you actually accept a financing offer does a hard credit check occur, and even then, the impact is typically minimal. What sets buy-now-pay-later apart from traditional financing is the automatic loan completion structure. Unlike credit cards where you might carry a balance indefinitely, BNPL plans have fixed end dates and predictable payment amounts. When you make that final payment, you’re done – no ongoing balance, no minimum payments, no revolving credit temptation. This structure appeals particularly to homeowners who prefer the certainty of installment payments over the flexibility (and potential pitfalls) of revolving credit. However, buy-now-pay-later services aren’t without their considerations. Many providers offer deferred interest programs, which might seem like 0% financing but carry a significant catch: if you don’t pay the full promotional balance by the specified date, you’ll owe interest calculated from the original purchase date. This retroactive interest can be substantial, potentially adding hundreds of dollars to your repair bill if you miss the promotional payoff deadline. The accessibility of BNPL services extends to credit requirements as well. While traditional personal loans might require credit scores of 620 or higher, many buy-now-pay-later providers approve consumers with fair or even poor credit, often accepting applicants with scores as low as 500. This accessibility makes BNPL services particularly valuable for younger homeowners still building credit or those who’ve experienced credit challenges but need immediate repair financing.
 The structural advantages of personal loans become apparent when considering flexibility and credit building potential. Unlike BNPL services tied to specific retailers or repair companies, personal loan funds can be used anywhere – whether you choose the manufacturer’s authorized repair service, a local independent technician, or decide to purchase replacement appliances from any retailer. This flexibility proves particularly valuable when repair estimates vary significantly between providers or when you discover mid-project that replacement makes more sense than repair. Personal loans also contribute positively to your credit profile through installment payment history reported to all three major credit bureaus. Successfully managing a personal loan demonstrates your ability to handle installment debt, potentially improving your credit score over the loan term. This credit-building aspect contrasts sharply with most buy-now-pay-later services, which typically don’t report positive payment history to credit bureaus unless accounts become delinquent.