Appliance Installation Mistakes That Cost Abbotsford Homeowners Thousands: Why Professional Setup Saves Money Long-Term
Thinking about saving money with DIY appliance installation in your Abbotsford home? The shocking reality is that amateur installation mistakes cost homeowners 3-5 times more than professional services, often resulting in thousands of dollars in damage, voided warranties, and dangerous safety hazards that put families at risk.Picture this: you just bought that dream kitchen suite – a sleek new dishwasher, a high-efficiency refrigerator, maybe even a gas range that’ll make you feel like a culinary genius. The appliance store quotes you $300 for professional installation, and you’re thinking, “How hard can it be to plug in a few things?” Fast forward three weeks, and you’re standing ankle-deep in water from a botched dishwasher hookup, staring at a $4,000 repair bill that your insurance won’t cover because you did the installation yourself. This nightmare scenario plays out in Abbotsford homes more often than you’d think, turning what should be exciting home upgrades into financial disasters.  The math is brutal but simple: professional appliance installation typically costs between $123 and $299, while DIY mistakes average three to five times more in repair costs. But here’s the kicker – that’s just the beginning. When you factor in voided warranties, insurance exclusions, safety hazards, and potential code violations, the true cost of amateur installation attempts can easily reach tens of thousands of dollars. In British Columbia, where gas appliances legally require certified installers, DIY attempts aren’t just expensive – they’re actually illegal and can result in fines, insurance denials, and liability for damages.
Key Takeaways:
- DIY installation mistakes cost 3-5 times more than professional installation fees, often reaching thousands in repair expenses
- Most appliance warranties are immediately voided by amateur installation attempts, eliminating thousands in future repair coverage
- Gas appliances in BC legally require certified installers, making DIY attempts potentially illegal and insurance-voiding
- Improper installations contribute to 10% of home electrocutions and thousands of preventable fires annually
- Professional installation includes workmanship warranties and insurance coverage that protects homeowners from liability
The Hidden Costs of DIY Installation Failures
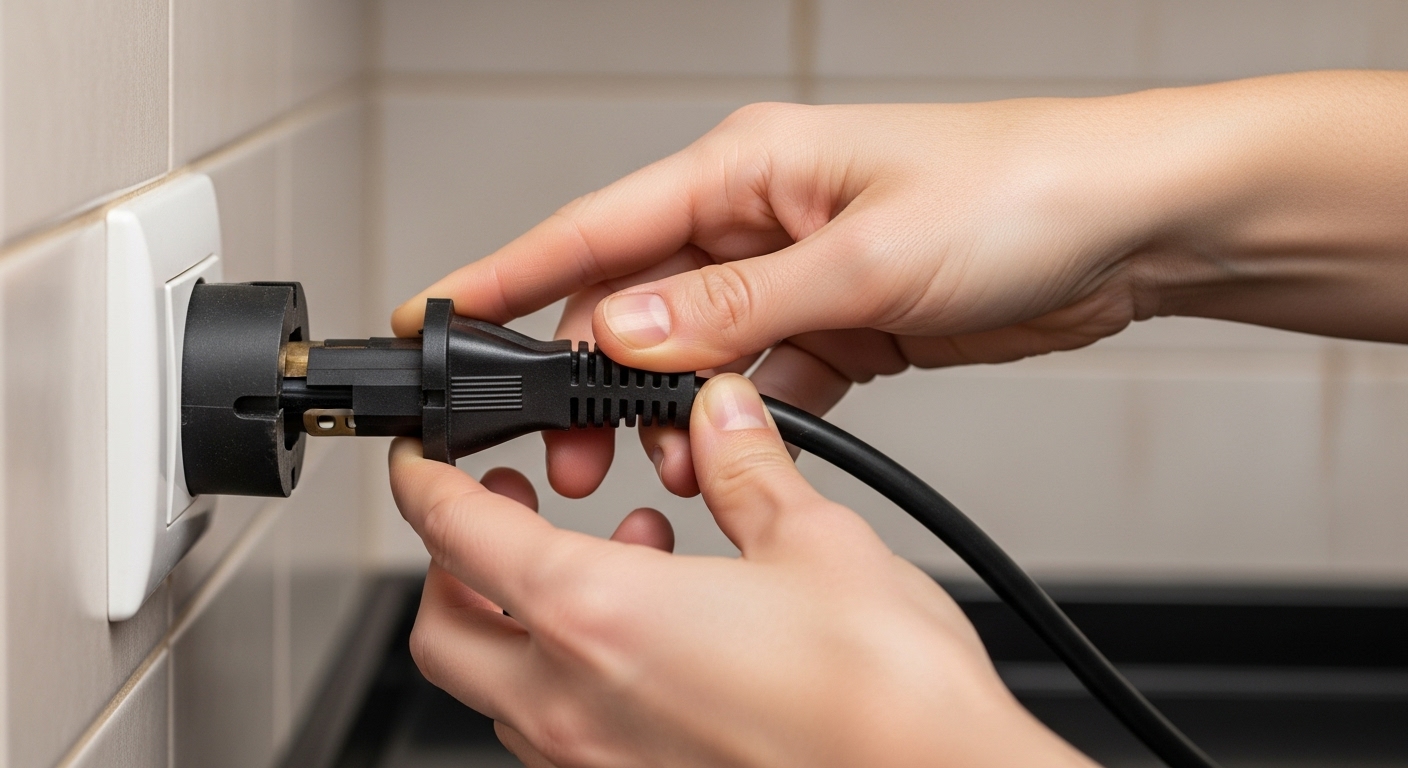
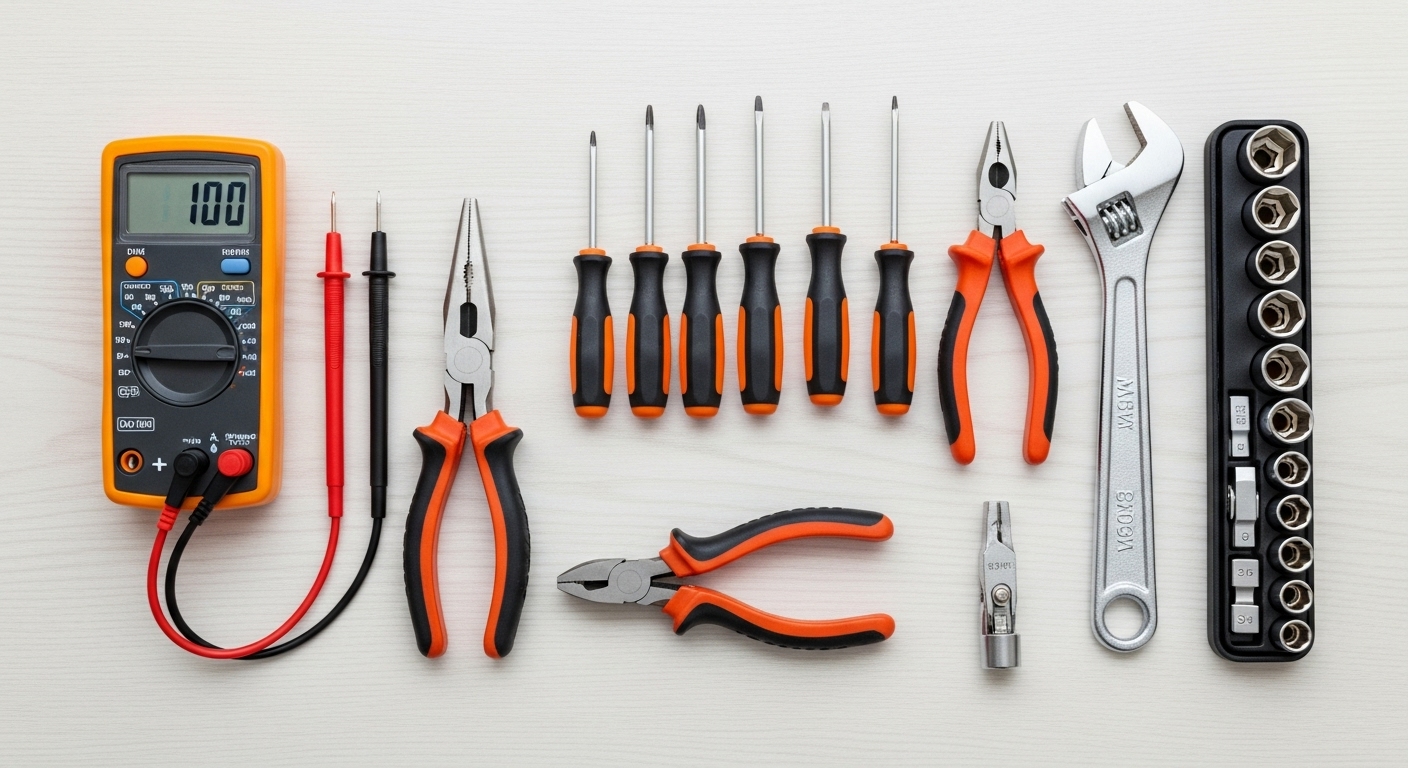
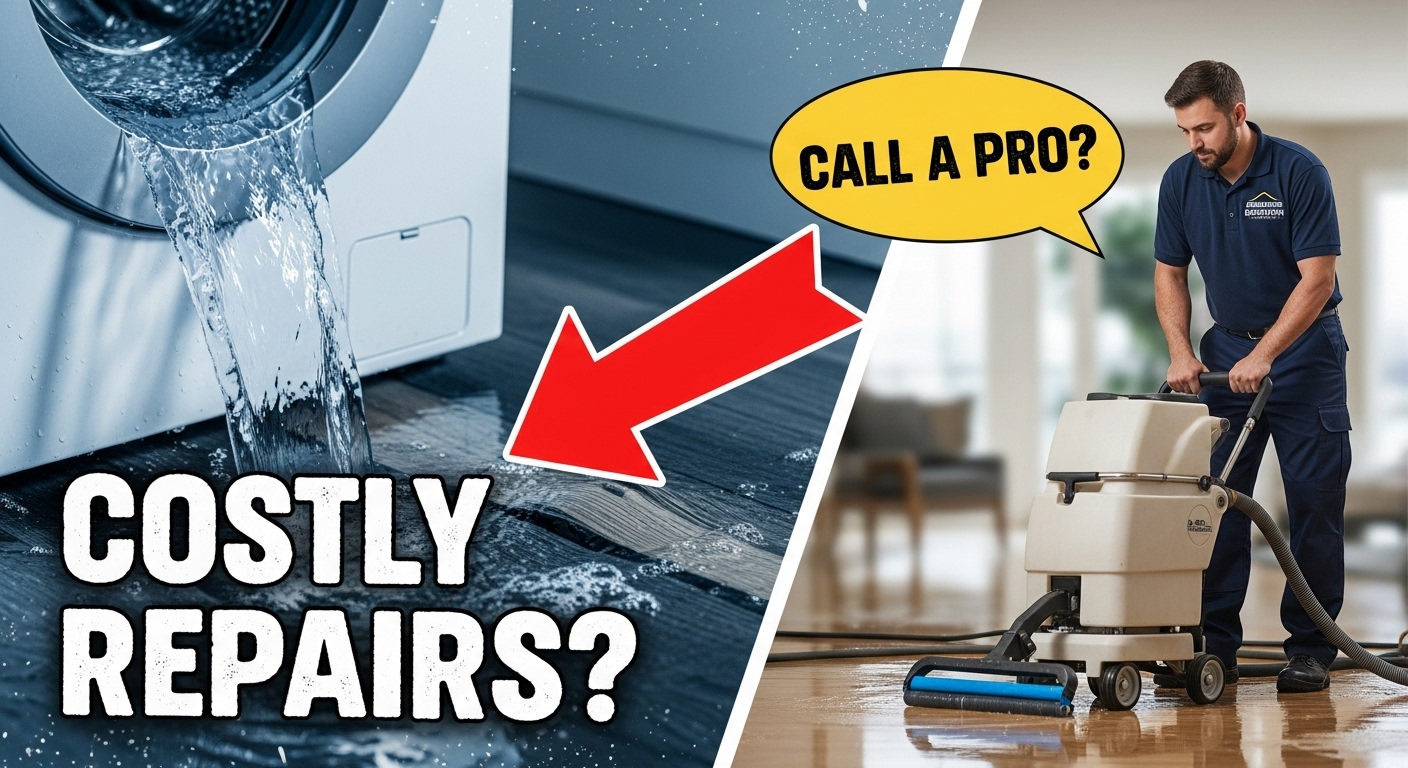
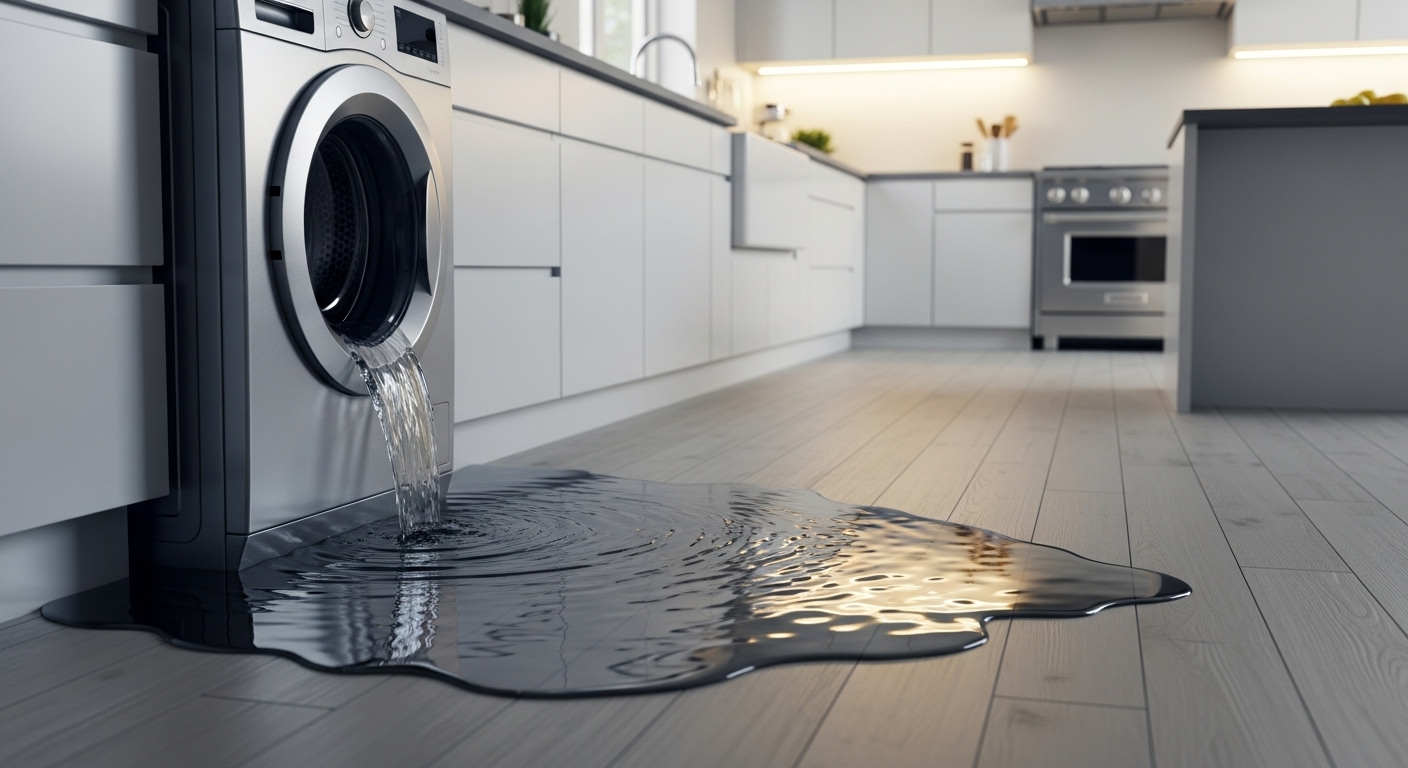
Let me paint you a picture that’s probably way too familiar. You’re scrolling through home improvement videos on YouTube at 2 AM, feeling pretty confident that you can handle installing that new washing machine yourself. The professional installation quote seems steep for what looks like “just connecting a few hoses,” right? But here’s what those cheerful DIY videos don’t tell you about what happens when things go sideways in real life.Professional appliance installation in Abbotsford runs between $150 to $300 for standard installations with existing hookups. Seems like a lot of money for a couple hours of work, until you realize what you’re actually paying for. You’re not just paying for someone to connect pipes – you’re buying expertise in local building codes, specialized tools you don’t own, insurance coverage that protects your home, and the peace of mind that comes from knowing the job meets safety standards that could literally save your life.The financial reality hits hard when DIY attempts go wrong. Research shows that amateur installation mistakes cost homeowners an average of three to five times more than professional installation fees. That $250 you “saved” by doing it yourself? It just became a $1,500 repair bill when you accidentally punctured the water line behind your dishwasher. And that’s before we talk about the water damage to your cabinets, flooring, and whatever else got soaked in the flood.But wait – it gets worse. Many homeowner insurance policies specifically exclude coverage for damages resulting from unauthorized DIY installations. So that water damage we just mentioned? You’re paying for it out of pocket. The structural repairs, the mold remediation, the replacement of damaged belongings – all of it becomes your financial responsibility because you tried to save a few bucks on professional installation.
Safety Risks That Put Lives at Stake
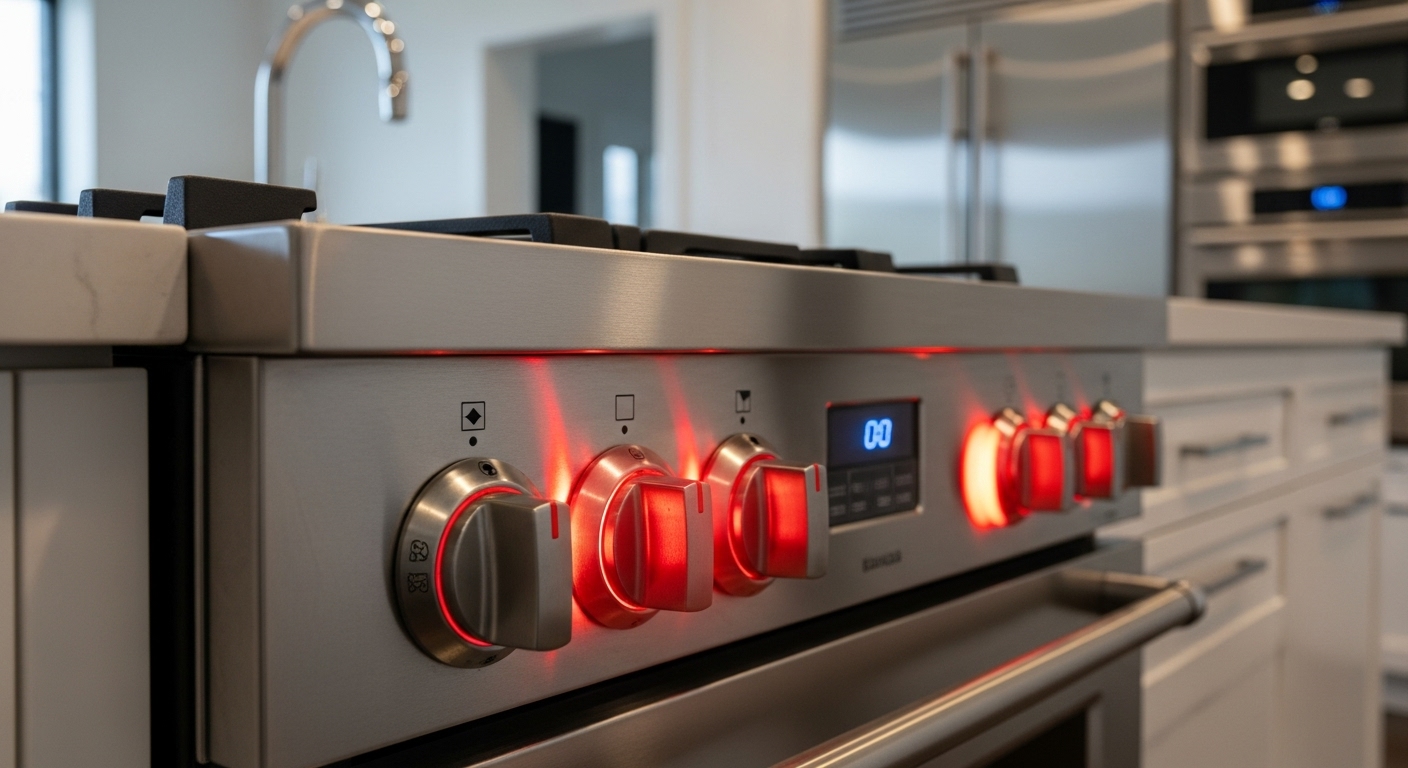
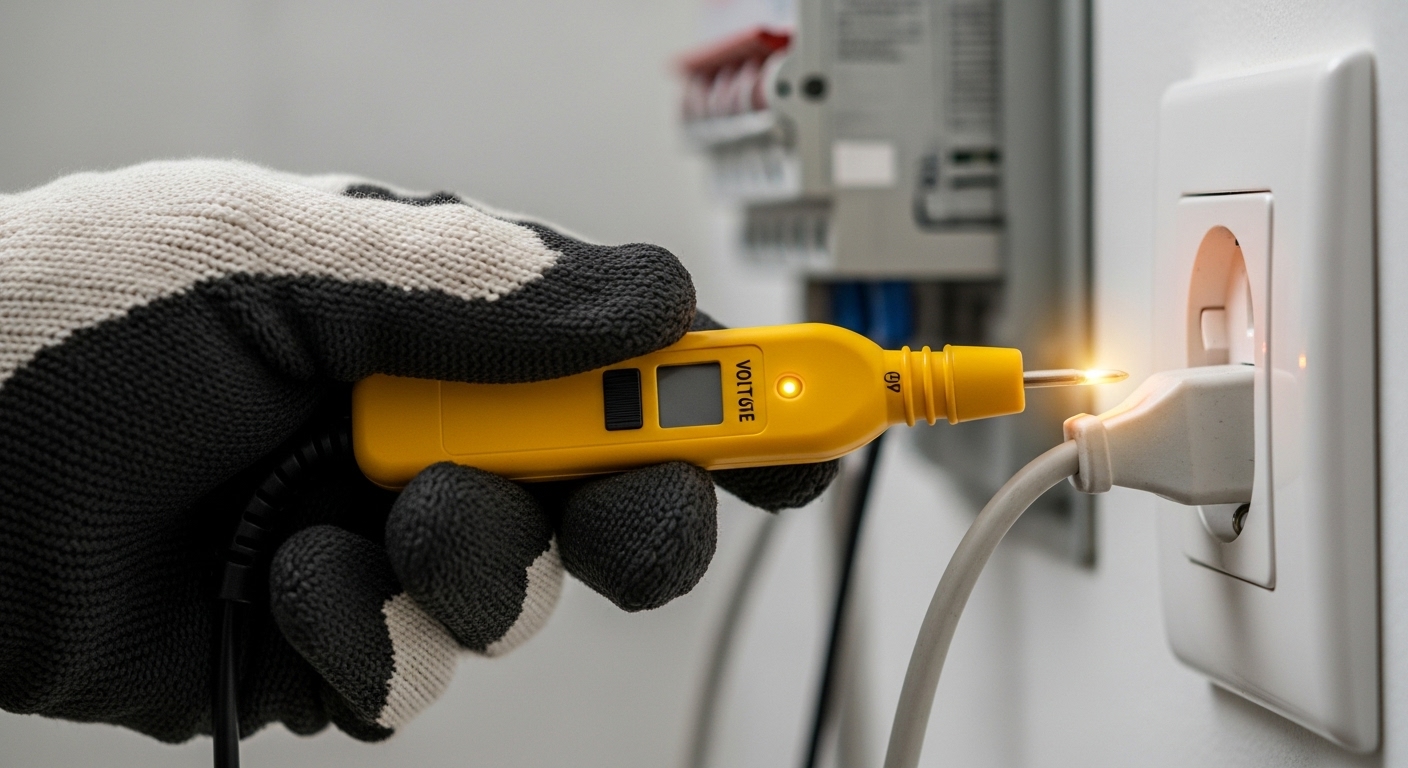
Now we need to talk about something way scarier than money – the safety risks that come with amateur appliance installation. These aren’t just minor inconveniences we’re discussing; these are life-and-death situations that happen in real homes to real families every single year. 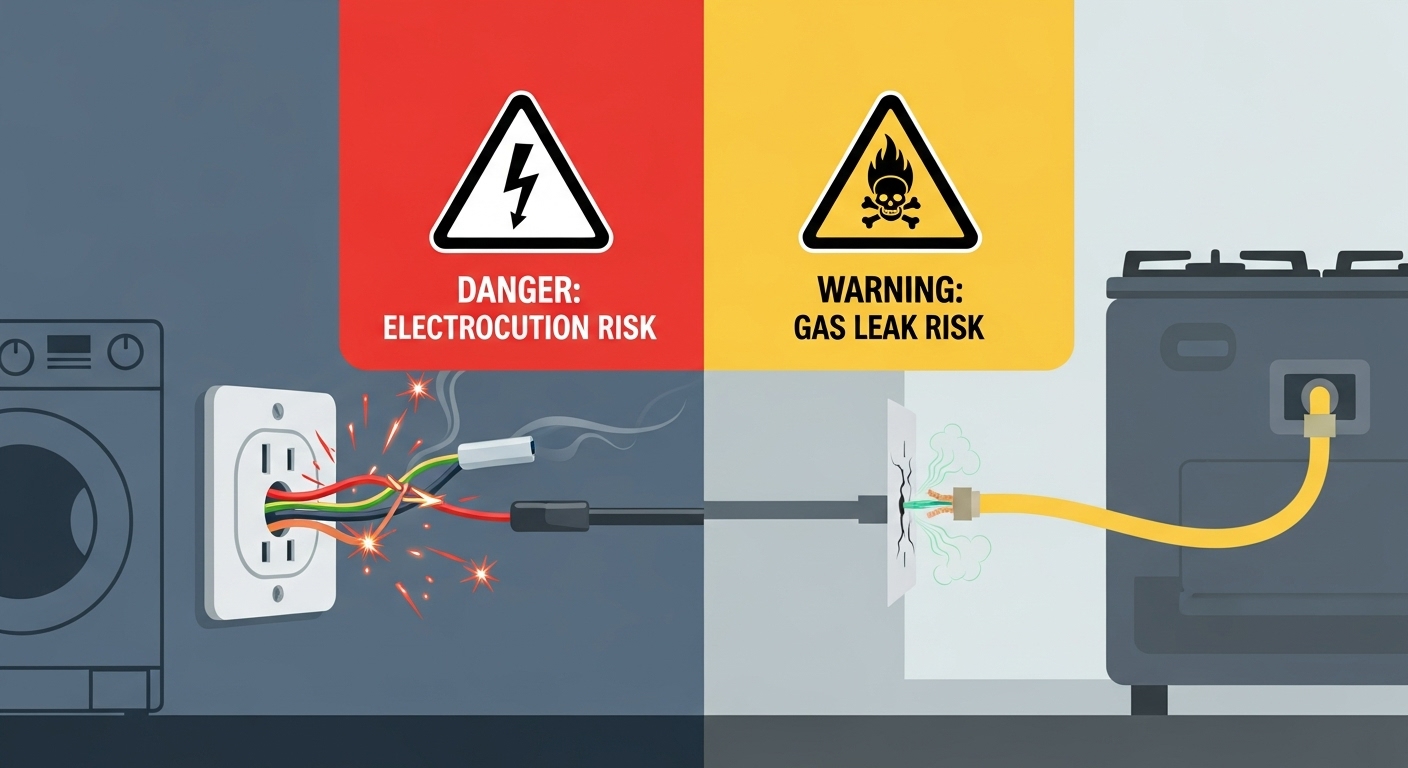 Large household appliances account for 10% of all home-related electrocutions, contributing to over 400 deaths and 4,000 non-fatal electrical injuries annually. These aren’t abstract statistics – they represent families destroyed by preventable accidents during amateur installation attempts. Modern appliances contain high-voltage components that can deliver fatal electrical shocks even when they appear to be disconnected from power. Professional installers receive extensive training on electrical safety protocols and carry specialized tools designed to protect them from these hazards.The electrical dangers extend far beyond the installation process itself. Improperly wired appliances can create arc faults that smolder undetected inside walls before erupting into house fires. Kitchen fires represent over 50% of domestic appliance-related blazes, making proper installation absolutely critical for family safety. When professional installers wire your appliances, they ensure proper grounding, adequate circuit protection, and compliance with electrical codes that prevent these tragic outcomes.Gas appliances present even more terrifying risks through the potential for explosions and carbon monoxide poisoning. In British Columbia, only certified gas fitters are legally permitted to install, alter, or repair gas appliances and gas lines. This isn’t bureaucratic red tape – it’s a life-saving regulation that exists because improper gas installations kill people. Even small mistakes in gas line connections can fill homes with explosive vapors or produce carbon monoxide, a colorless, odorless gas that kills without warning.
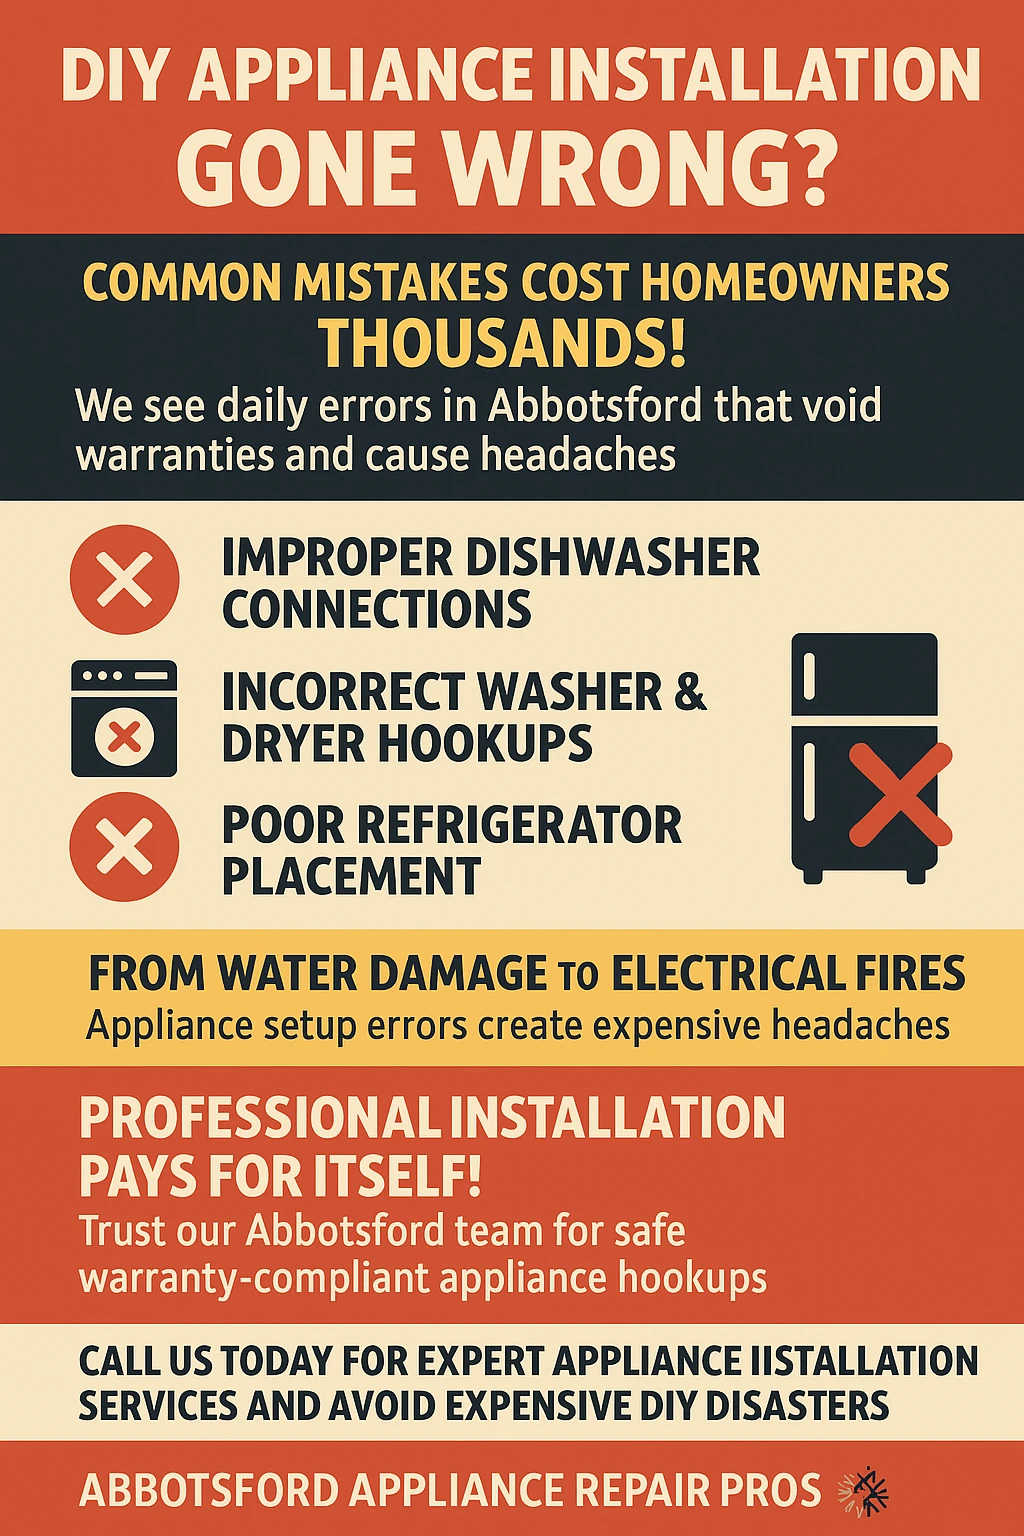
Common Installation Mistakes That Drain Bank Accounts
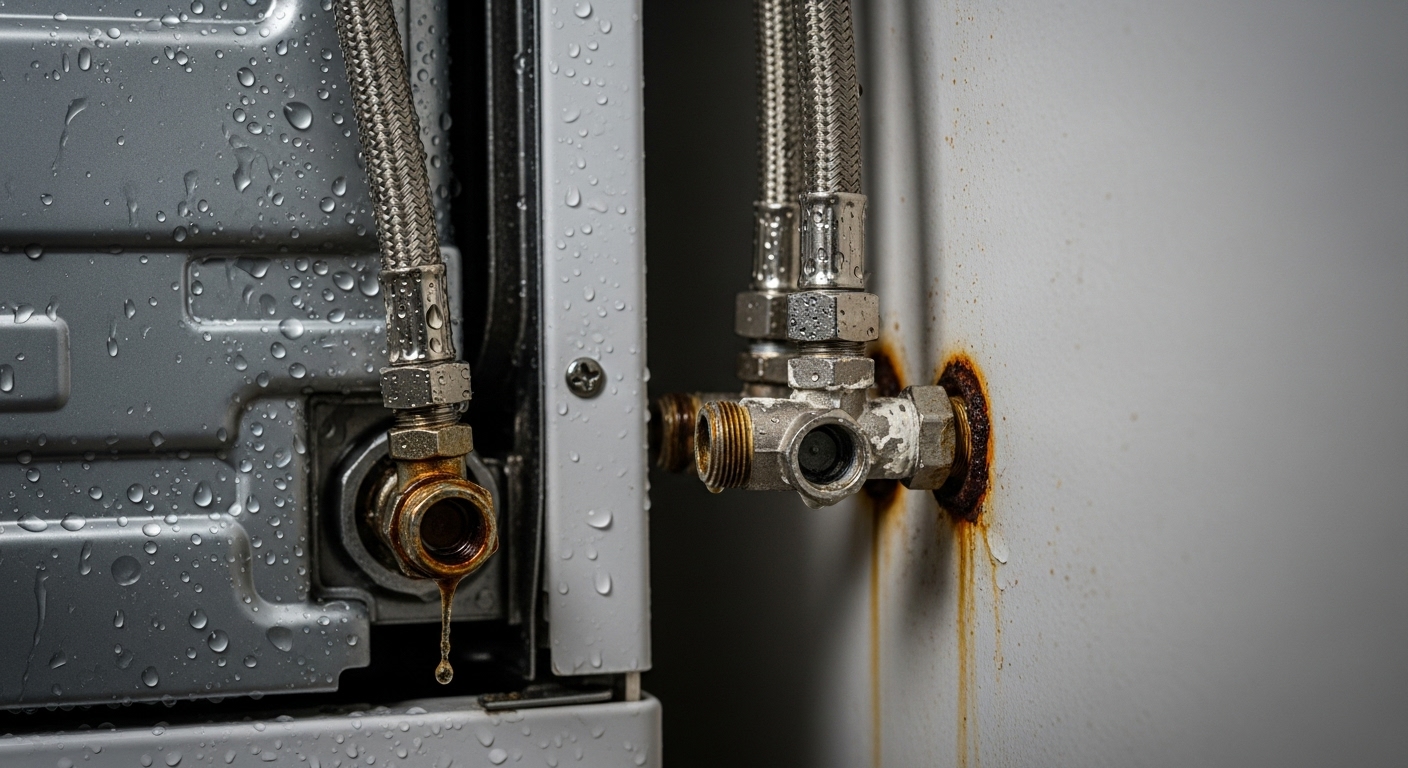
After dealing with countless DIY disasters over the years, certain patterns emerge in the types of mistakes that cost Abbotsford homeowners the most money. Understanding these common pitfalls might save you from becoming another cautionary tale, or at least help you appreciate why professional installation is worth every penny.Dishwasher installations represent one of the most expensive categories of DIY failures. The most common disaster involves homeowners accidentally breaking existing drain lines or hot water lines during connection attempts. What starts as a simple appliance upgrade becomes a major plumbing emergency requiring immediate professional intervention. These accidents typically result in water damage that costs between $1,200 and $15,000 to remediate, depending on how quickly the problem is discovered and addressed.Another frequent dishwasher mistake involves using incorrect drain pipe sizes or forgetting to purchase required installation kits. These seemingly minor oversights create improper connections that lead to chronic drainage problems, stagnant water conditions that foster bacterial growth, and persistent odors throughout the home. Even worse, these problems often don’t manifest immediately, creating a false sense of security before developing into major health hazards that require expensive remediation.Washing machine and dryer installations present their own unique challenges that amateur installers consistently underestimate. Improper electrical connections can overload circuits and create fire hazards, while inadequate ventilation for dryers creates lint buildup that becomes a leading cause of home fires. Professional installation ensures proper venting configurations that prevent these dangerous conditions while also maximizing appliance efficiency and longevity.The stakes get even higher with refrigerator installations, particularly units with built-in ice makers or water dispensers. Improper water line connections frequently result in slow leaks that cause extensive damage over months or years before being discovered. These hidden problems often affect structural elements like subfloors and wall framing, requiring extensive and expensive repairs that far exceed the cost of professional installation.
Warranty Voiding and Long-Term Financial Impact
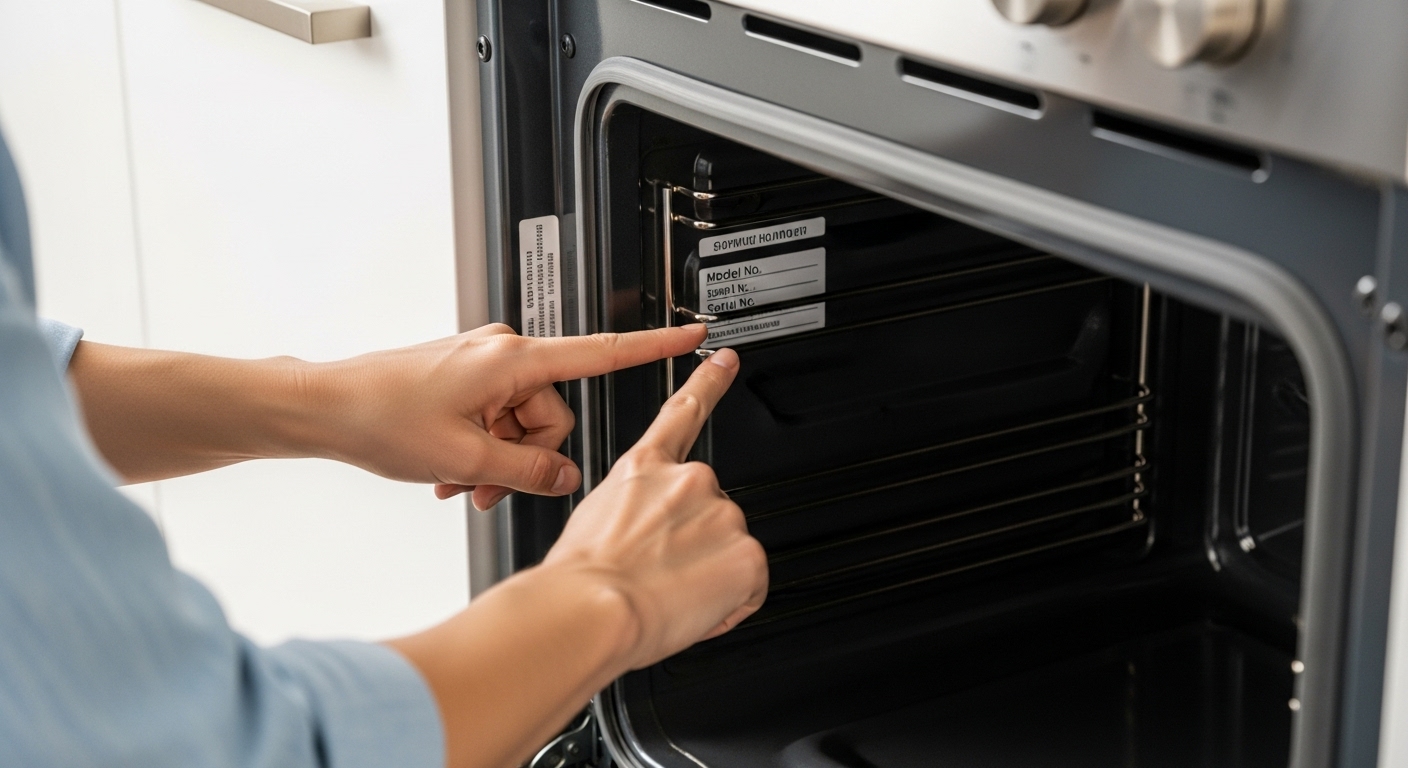
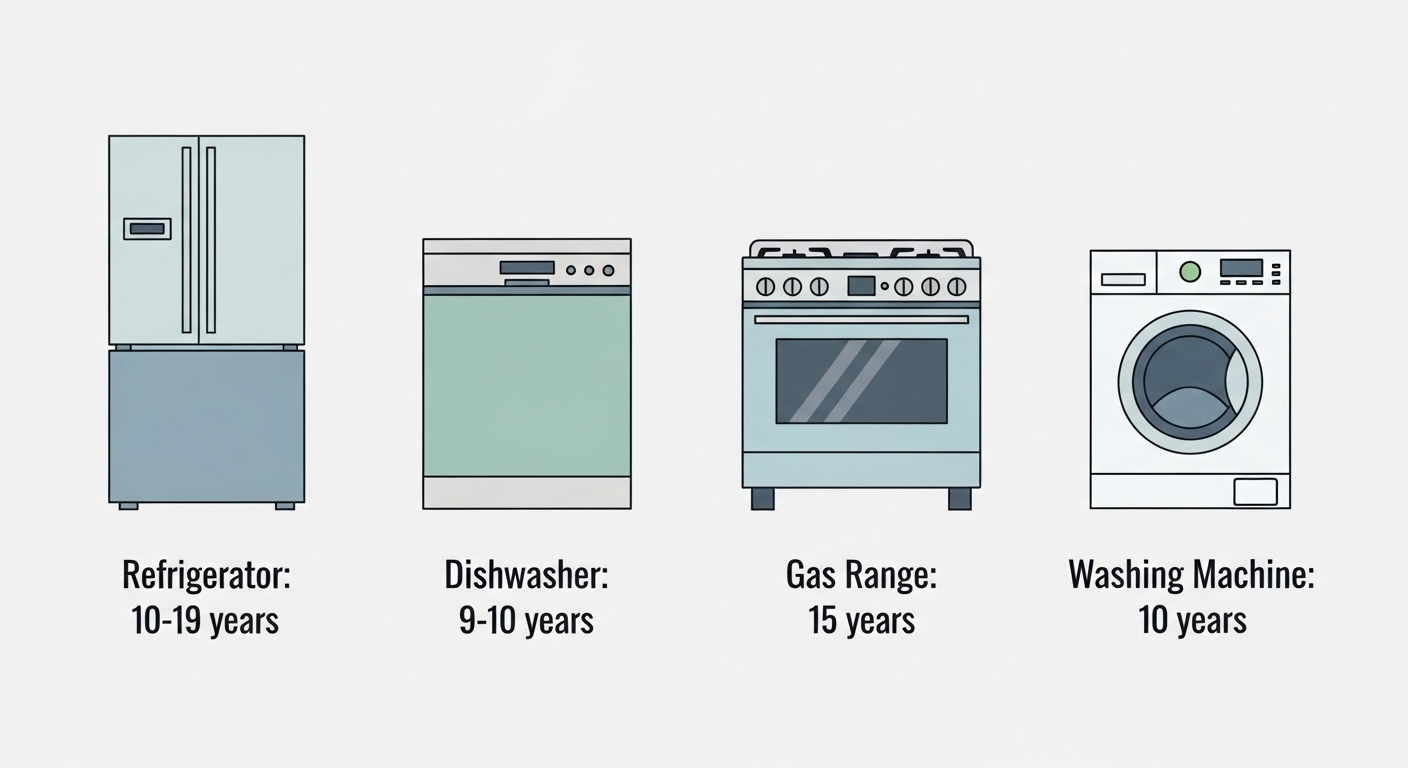
Here’s where the financial pain really starts to compound – warranty implications that many homeowners don’t discover until it’s too late. Most major appliance manufacturers explicitly state that amateur installation attempts immediately void all warranty protections. This isn’t fine print buried in dense legal documents; it’s a prominent warning that appears in installation guides and warranty materials for good reason.  When you void your appliance warranty through DIY installation, you’re not just losing coverage for installation-related problems. You’re forfeiting protection for any future failures, defects, or malfunctions that would normally be covered under manufacturer guarantees. For premium appliances that can cost thousands of dollars, this warranty protection represents significant financial value that often exceeds the cost of professional installation several times over.The warranty loss becomes particularly painful when you consider that improperly installed appliances experience higher failure rates and reduced service life. An appliance that should last 10-12 years with proper installation might fail after just 5-7 years when installed incorrectly. You’re not just paying for repairs out of pocket – you’re replacing appliances years earlier than necessary, multiplying the financial impact of your initial installation decision.Professional installation provides additional warranty coverage that DIY installation cannot match. Quality installers offer warranties on their workmanship, ensuring that any issues arising from the installation process itself are corrected at no cost to you. This dual-layer protection – manufacturer warranty on the appliance and installer warranty on the labor – offers a comprehensive safety net that DIY attempts simply cannot replicate. Attempting to save a few hundred dollars on installation at the cost of thousands in warranty protection is a financial gamble that rarely pays off for homeowners.


 Professional restoration services across the Abbotsford area have documented increasing frequency of appliance-related water damage incidents, particularly during seasonal transitions when temperature fluctuations stress appliance connections and seals. The combination of Vancouver’s coastal moisture and indoor heating creates conditions that accelerate wear on appliance components, making proactive maintenance and early detection systems essential for property protection. Homeowners who implement comprehensive prevention strategies and maintain relationships with qualified professionals can significantly reduce both the likelihood and impact of water damage events.

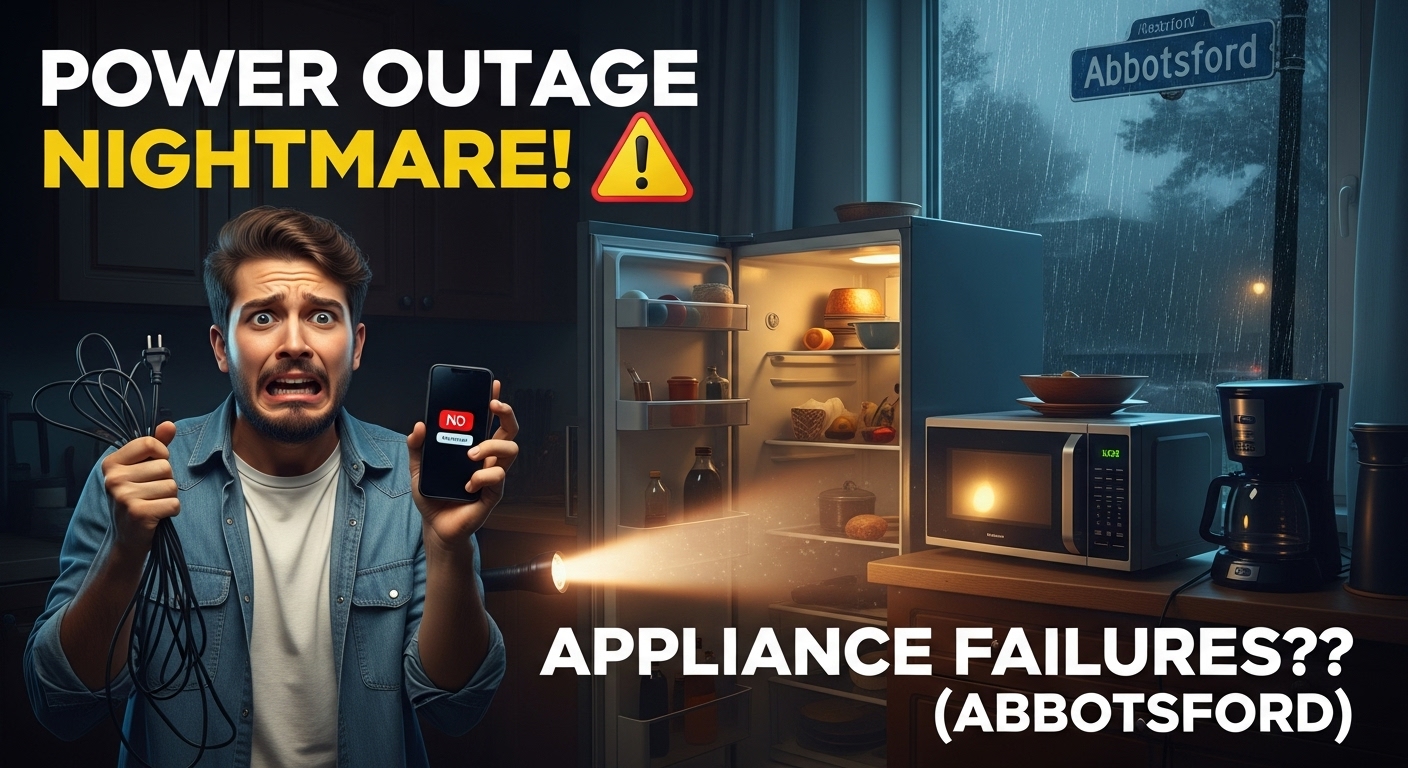
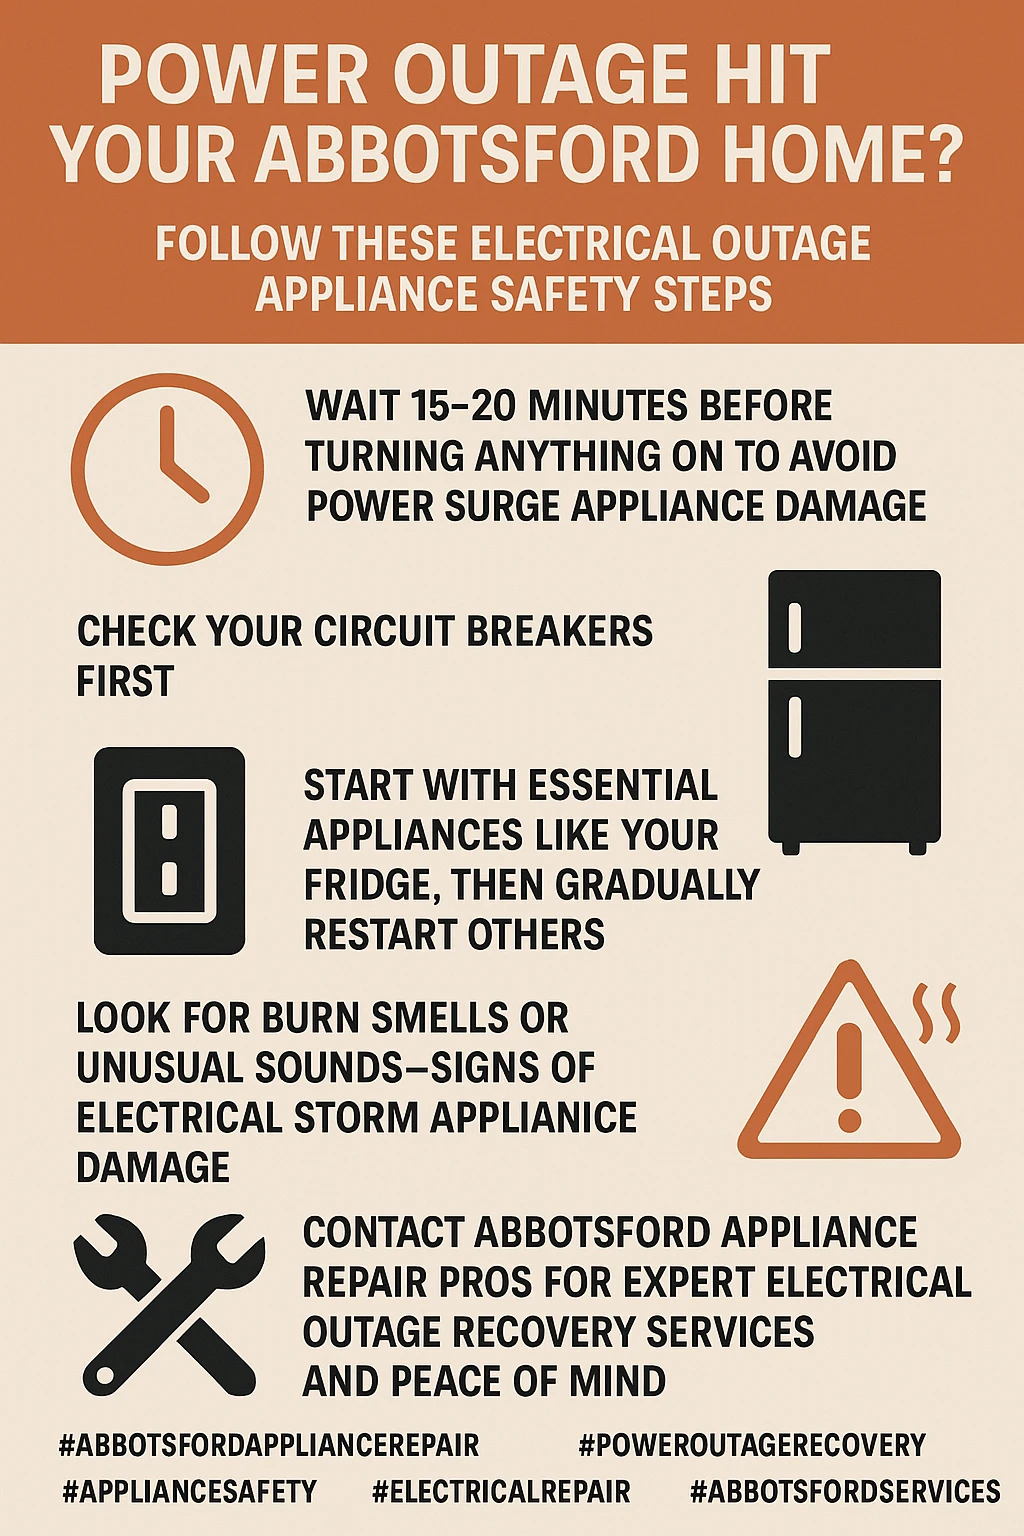
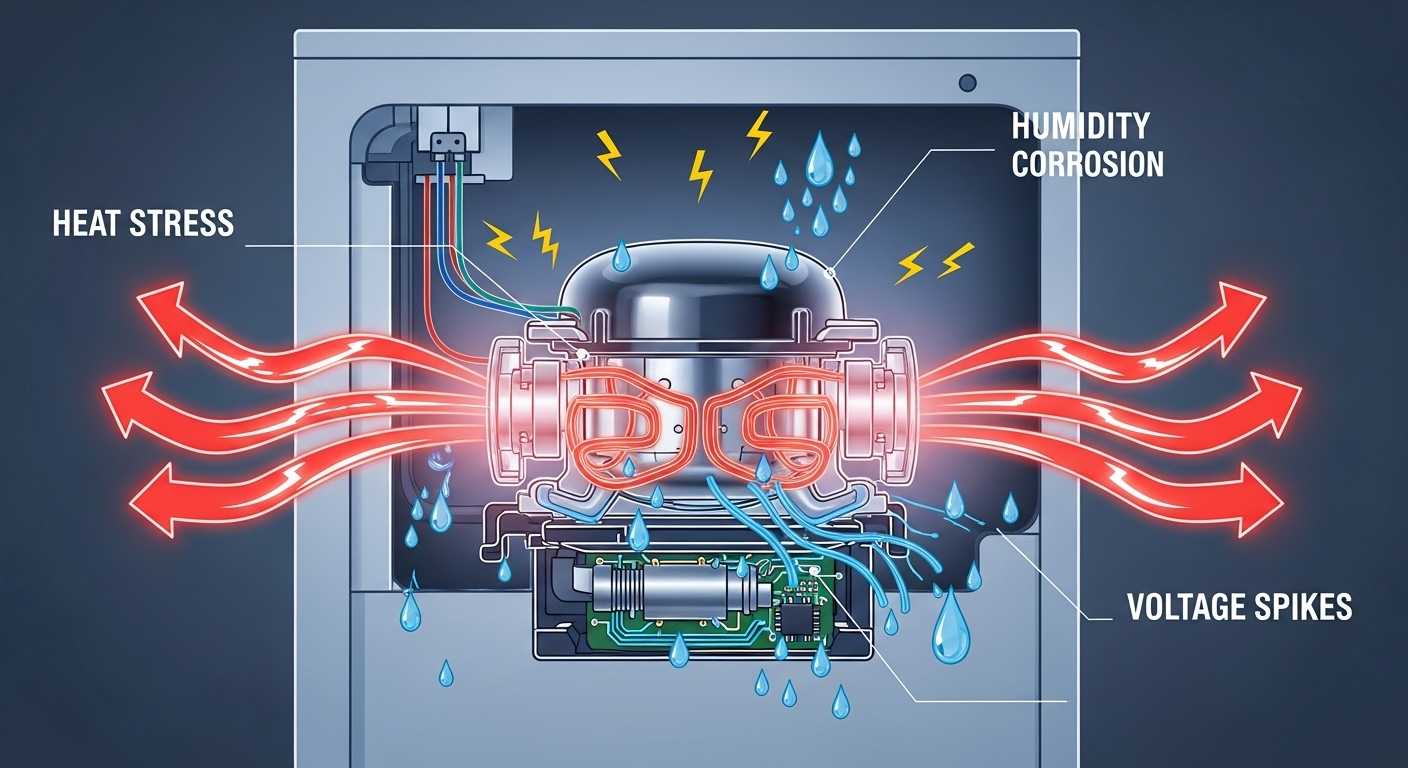
 When the lights go out in your Abbotsford home, your first instinct might be to grab a flashlight and wait it out. However, those crucial first moments determine whether your appliances emerge unscathed or become expensive repair projects. Power outages don’t just interrupt your daily routine – they create a cascade of electrical stress that can damage sensitive components throughout your home. Understanding these risks helps you take the right protective steps before problems escalate.The moment your power cuts out, every appliance in your home enters a vulnerable state. Electronics with memory functions lose their settings, heating and cooling systems stop mid-cycle, and refrigeration equipment begins warming up. But here’s the kicker – it’s not the outage itself that typically causes the most damage. According to safety experts, the real danger comes when power returns, often accompanied by voltage surges that can overwhelm delicate circuitry.Modern appliances contain sophisticated electronic controls that weren’t designed to handle the electrical chaos that accompanies power restoration. These systems expect clean, stable electricity, not the erratic voltage swings common during grid recovery. When utilities flip the switch back on, that initial surge can fry circuit boards, damage motors, and leave you with appliances that either don’t work at all or operate erratically. Smart homeowners in the Fraser Valley have learned that a few preventive steps during an outage can save thousands in repair costs later.
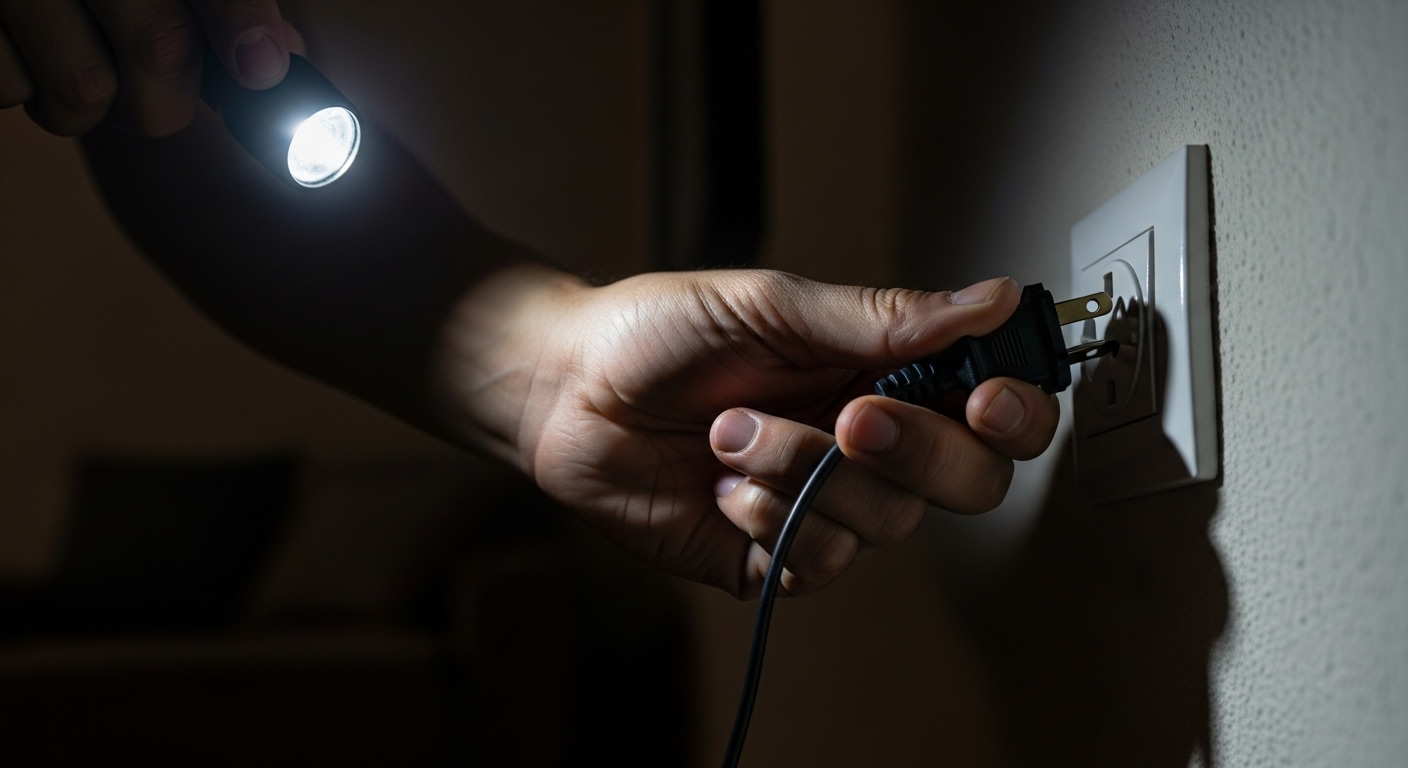 The first few minutes after your power goes out set the stage for how successfully your appliances will recover. Think of this period as your window of opportunity to minimize potential damage and protect your most valuable equipment. Quick, decisive action during these moments can mean the difference between a minor inconvenience and a major appliance replacement project. Your priority should be immediately unplugging sensitive electronics throughout your home. Televisions, computers, microwaves, gaming consoles, and any device with digital displays need to be disconnected from power sources. As recommended by electrical safety experts,
 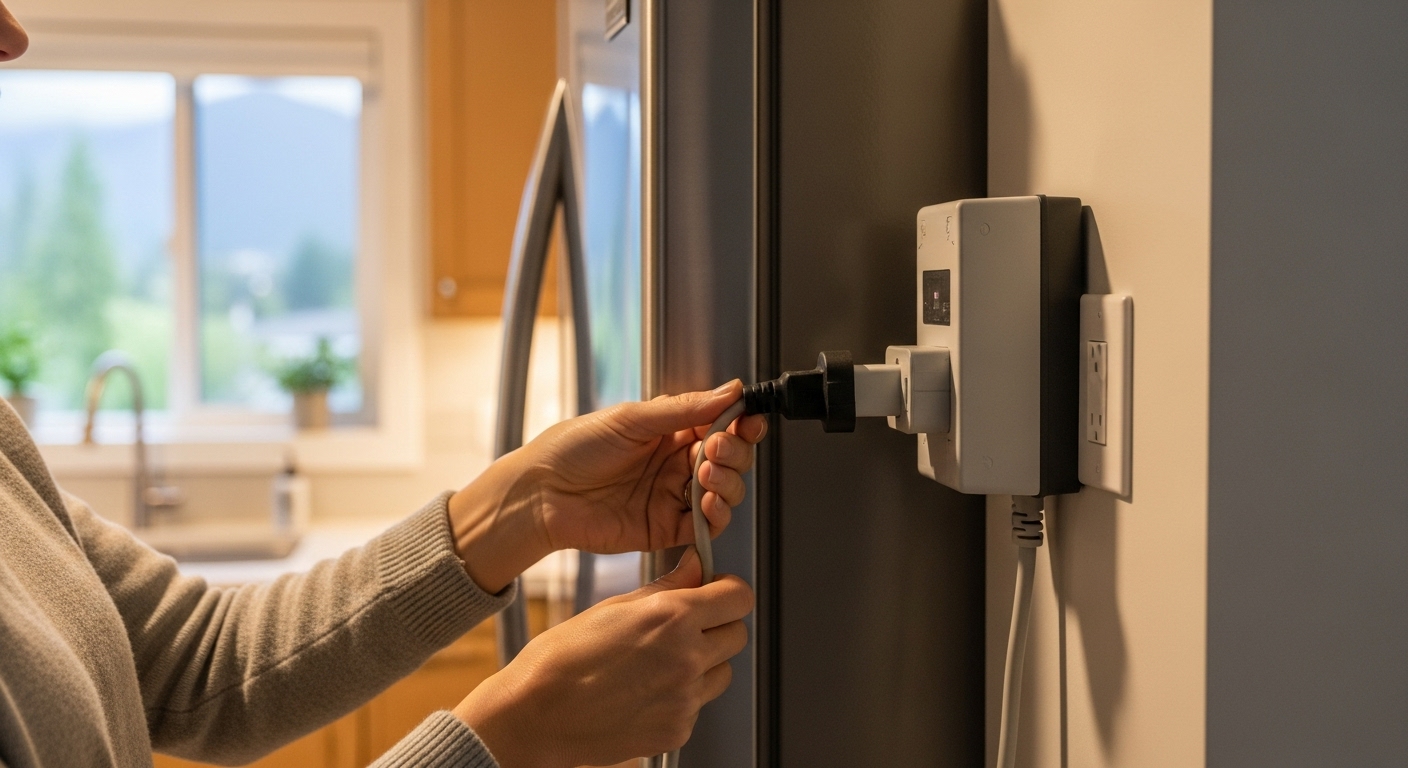 When those lights finally flicker back on, resist the urge to immediately plug everything back in and return to normal. This critical transition period requires patience and a methodical approach that protects your appliances from the voltage instabilities common during power restoration. Many homeowners make the mistake of treating power restoration like everything’s instantly back to normal, but electrical systems need time to stabilize after major disruptions. The most important rule for appliance recovery involves waiting before reconnecting devices. Electrical safety guidelines consistently emphasize this waiting period because